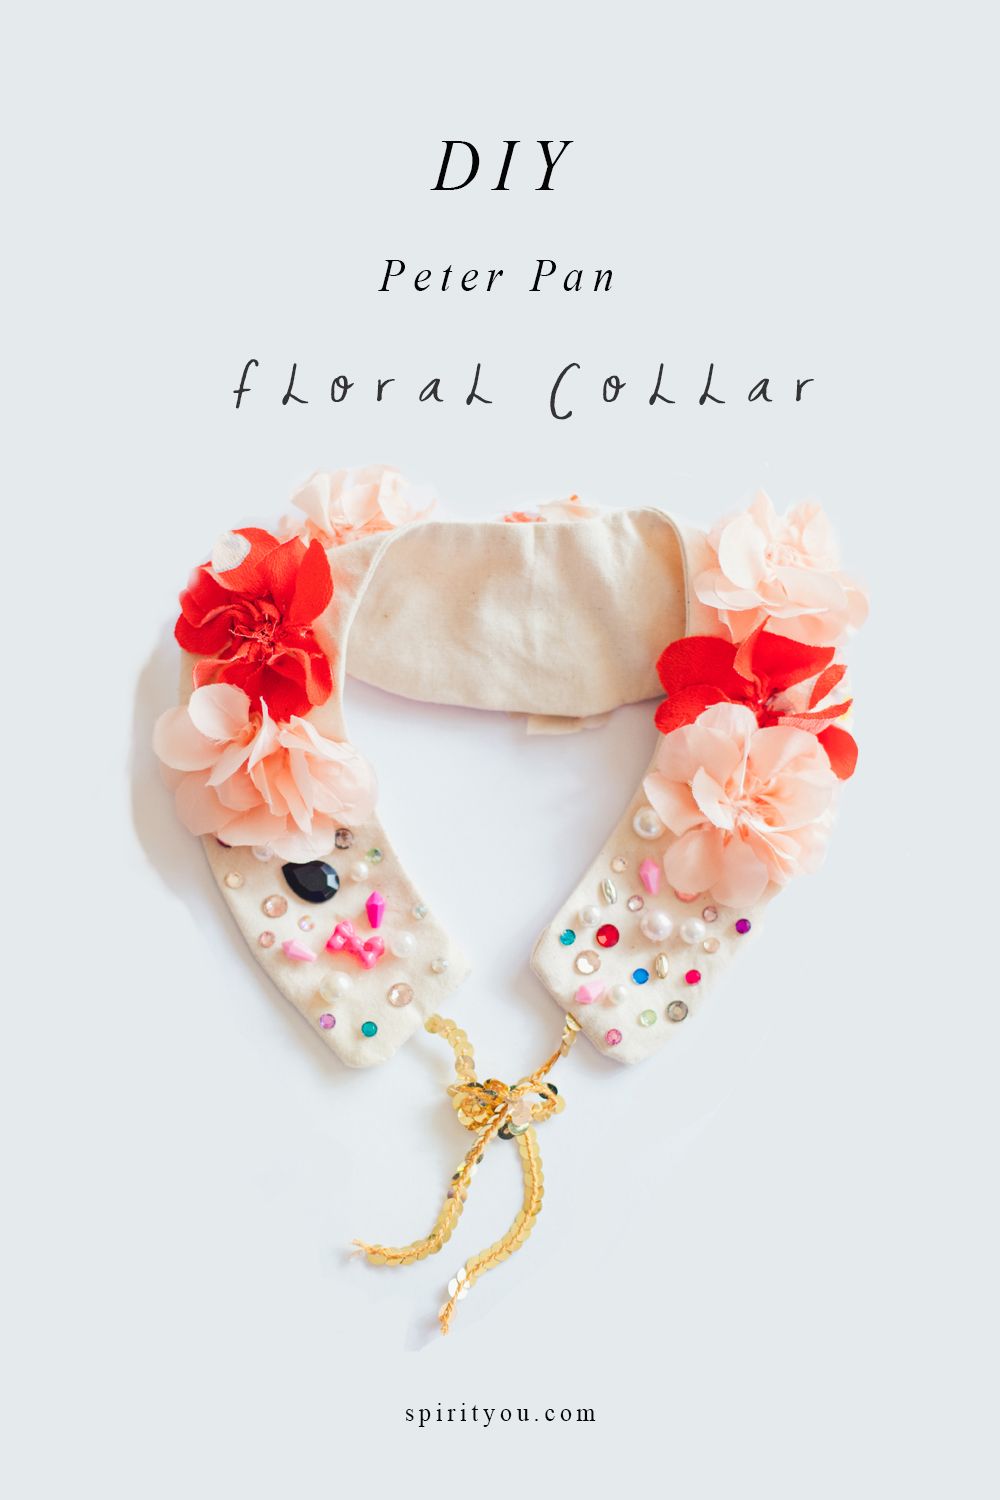
Diy Peter Pan Floral Collar
I wanted to come up with the perfect isolation craft for everybody. I started to think about creating something that was super cute but didn’t require going out to the craft store, waiting for an online order or spending money in these crazy times. Introducing the Peter Pan Floral Collar! I was completely inspired by the beautiful costuming of both Autumn de Wilde’s ‘Emma’ and Ari Aster’s ‘Midsommar’. The key to this collar is to utilise what you have. It doesn’t require a lot of fabric but it does require all those bits and bobs you’ve got stashed away in your craft box for a raining day – now is the time!
Materials
/TEMPLATE – You can print it out over here.
/FABRIC for collar – roughly 40cm (16″) x 40cm (16″)
/SCISSORS
/PINS
/NEEDLE and THREAD
/RIBBON
/FABRIC SCRAPS for flowers – roughly 60cm (24″) x 4cm (1.5″)
/MISCELLANEOUS CRAFT SUPPLIES (buttons, beads, diamontes, etc.)
*a sewing machine will speed up the collar construction and a hot glue gun cuts down the time of attaching the miscellaneous goodies.
Steps
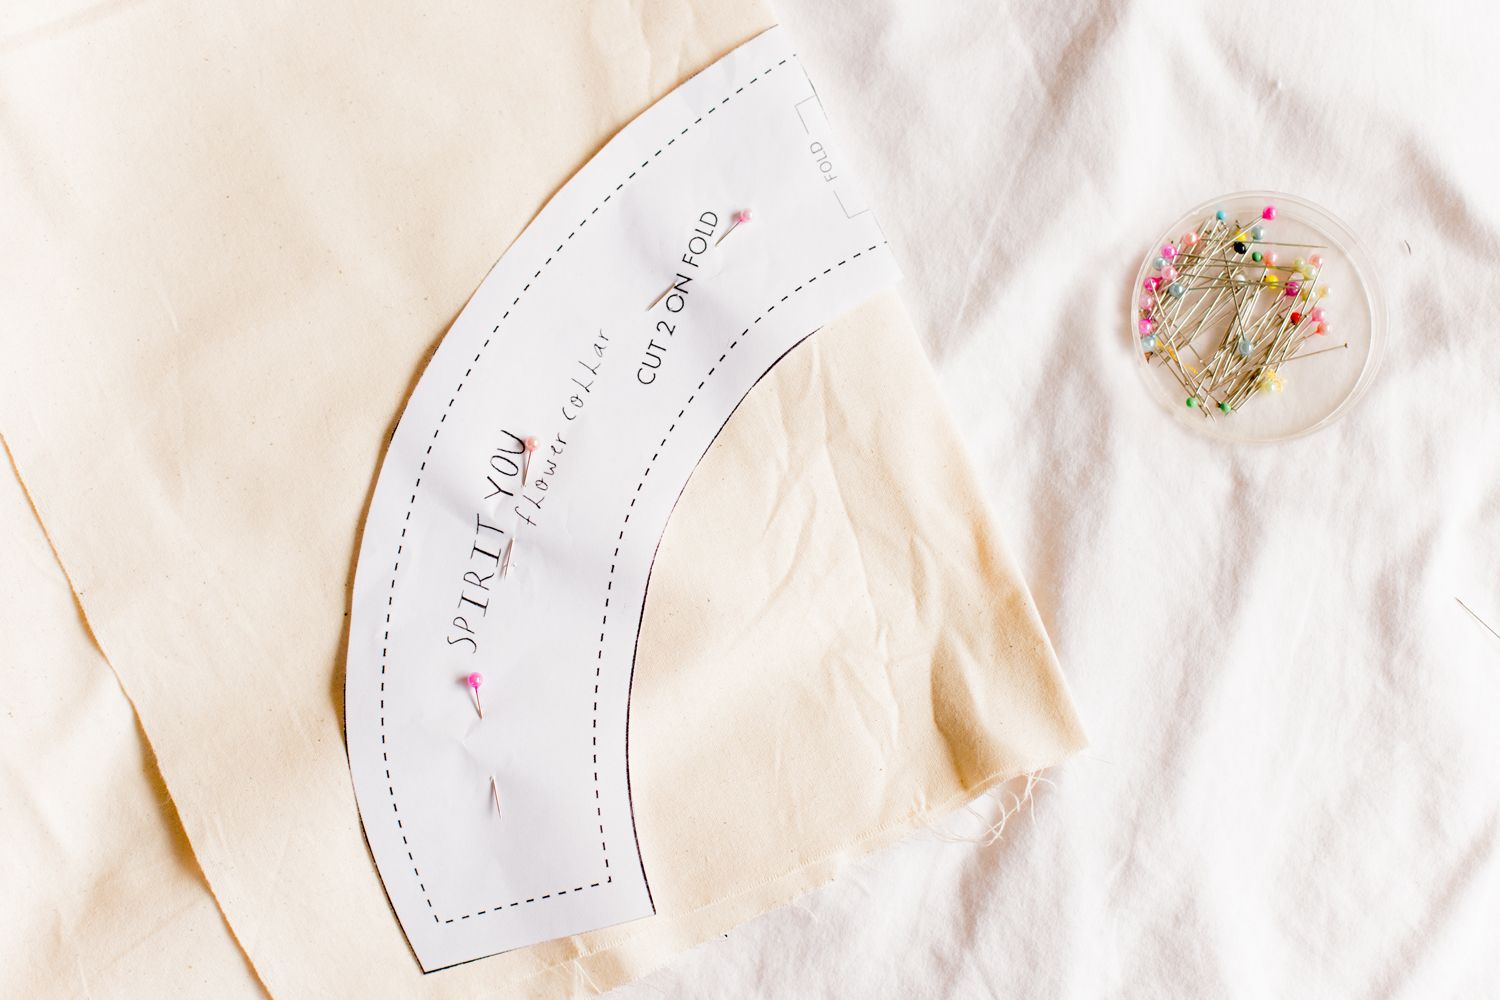
1/ Print off the collar pattern (you can find it over here.)
Cut out along the solid black line (the dotted line is where you’ll stitch)
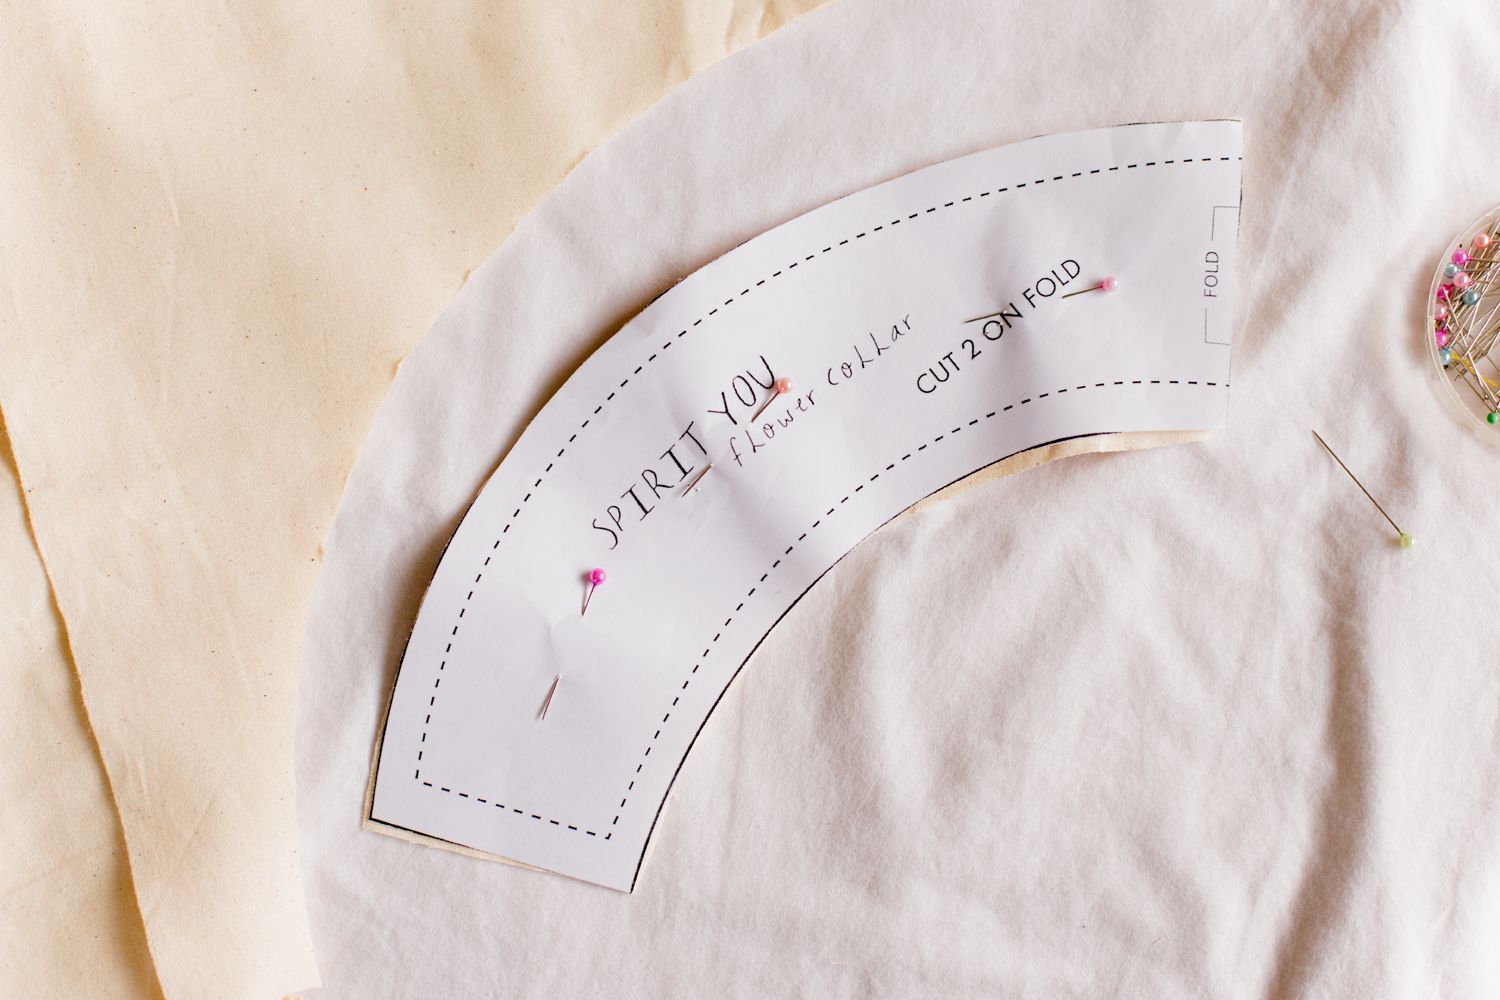
2)/ Fold and Pin.
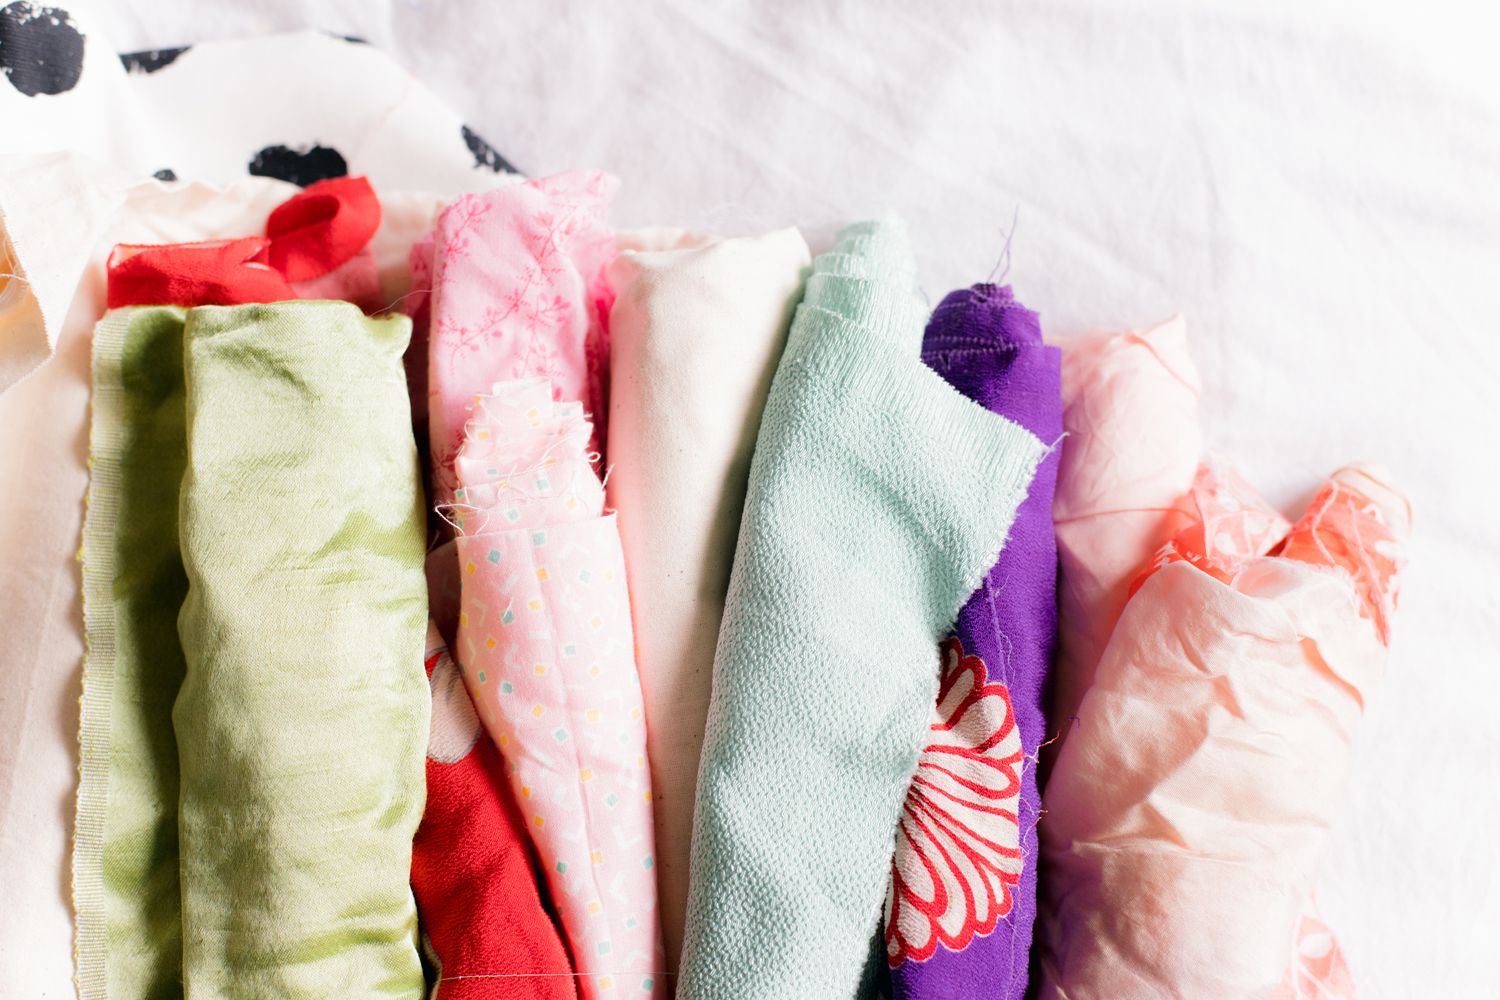
I choose a simple calico fabric because I wanted the flowers and embellishments to pop but any fabric will be a-okay, dig into your stash!
Fold the piece of fabric in half, place the pattern piece where it says ‘fold’ on the fabric’s folded edge and pin down or use a fabric pen and trace around. You’ll need roughly 40cm (16″) x 20cm(8″) of fabric.
I’m lazy and didn’t iron my fabric but a good seamstress would!
3/ Cut Out 1st Piece
4/ Cut Out 2nd piece
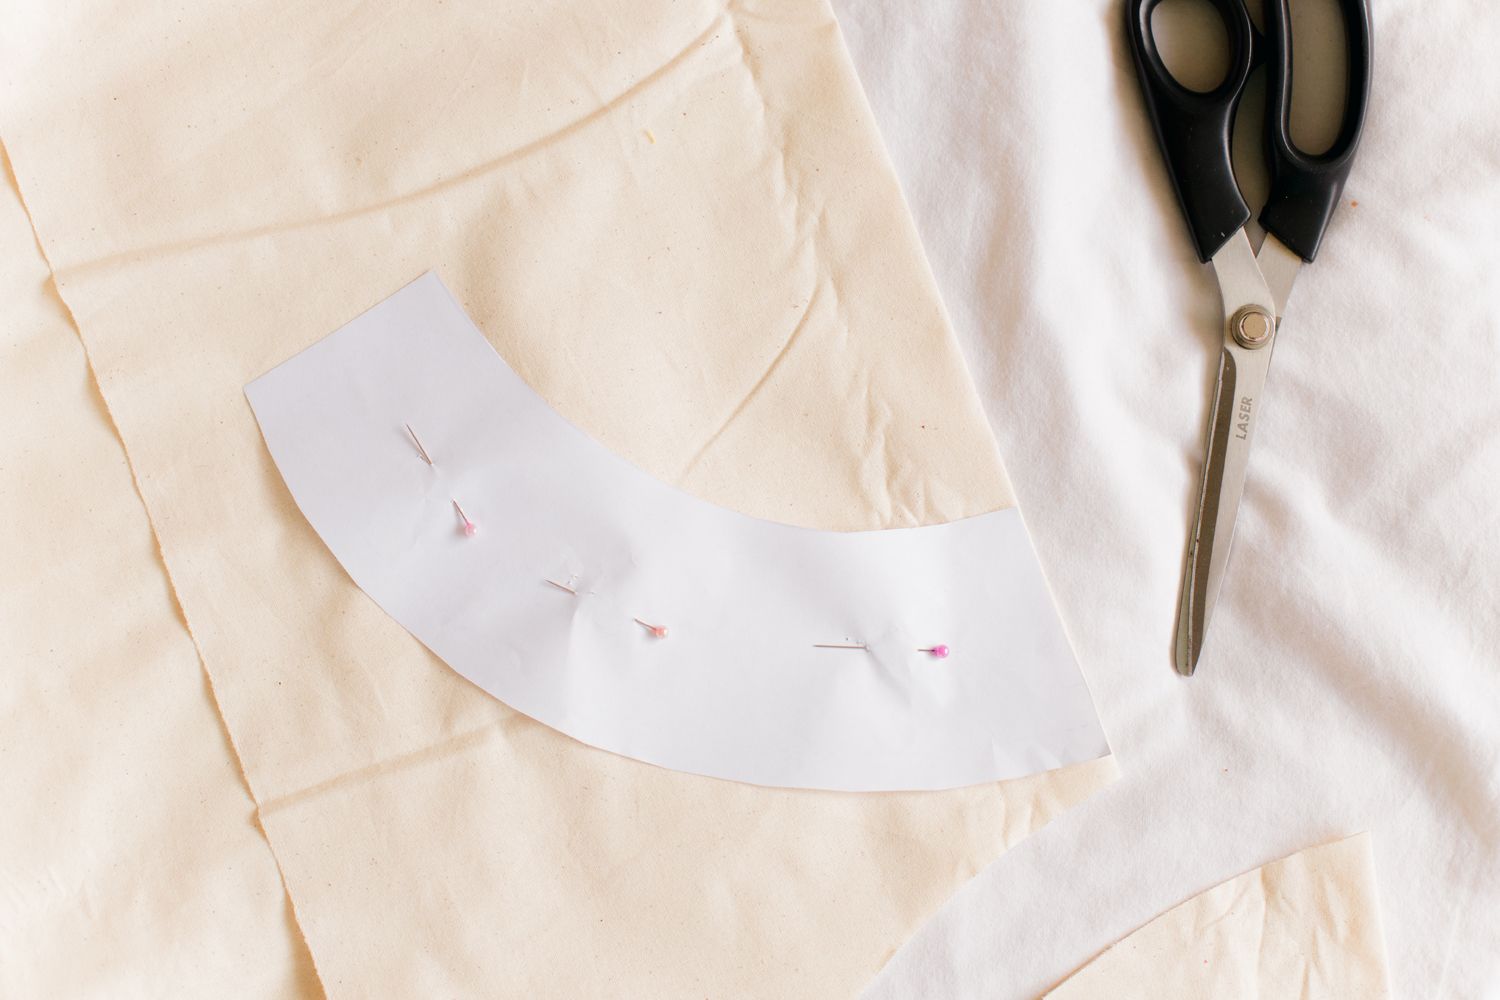
I flipped my pattern piece here. It was totally uncessary for calico but if you’re working with a fabric that has a noticeable front and back, you’ll need to flip your pattern.
5/ Pin together.
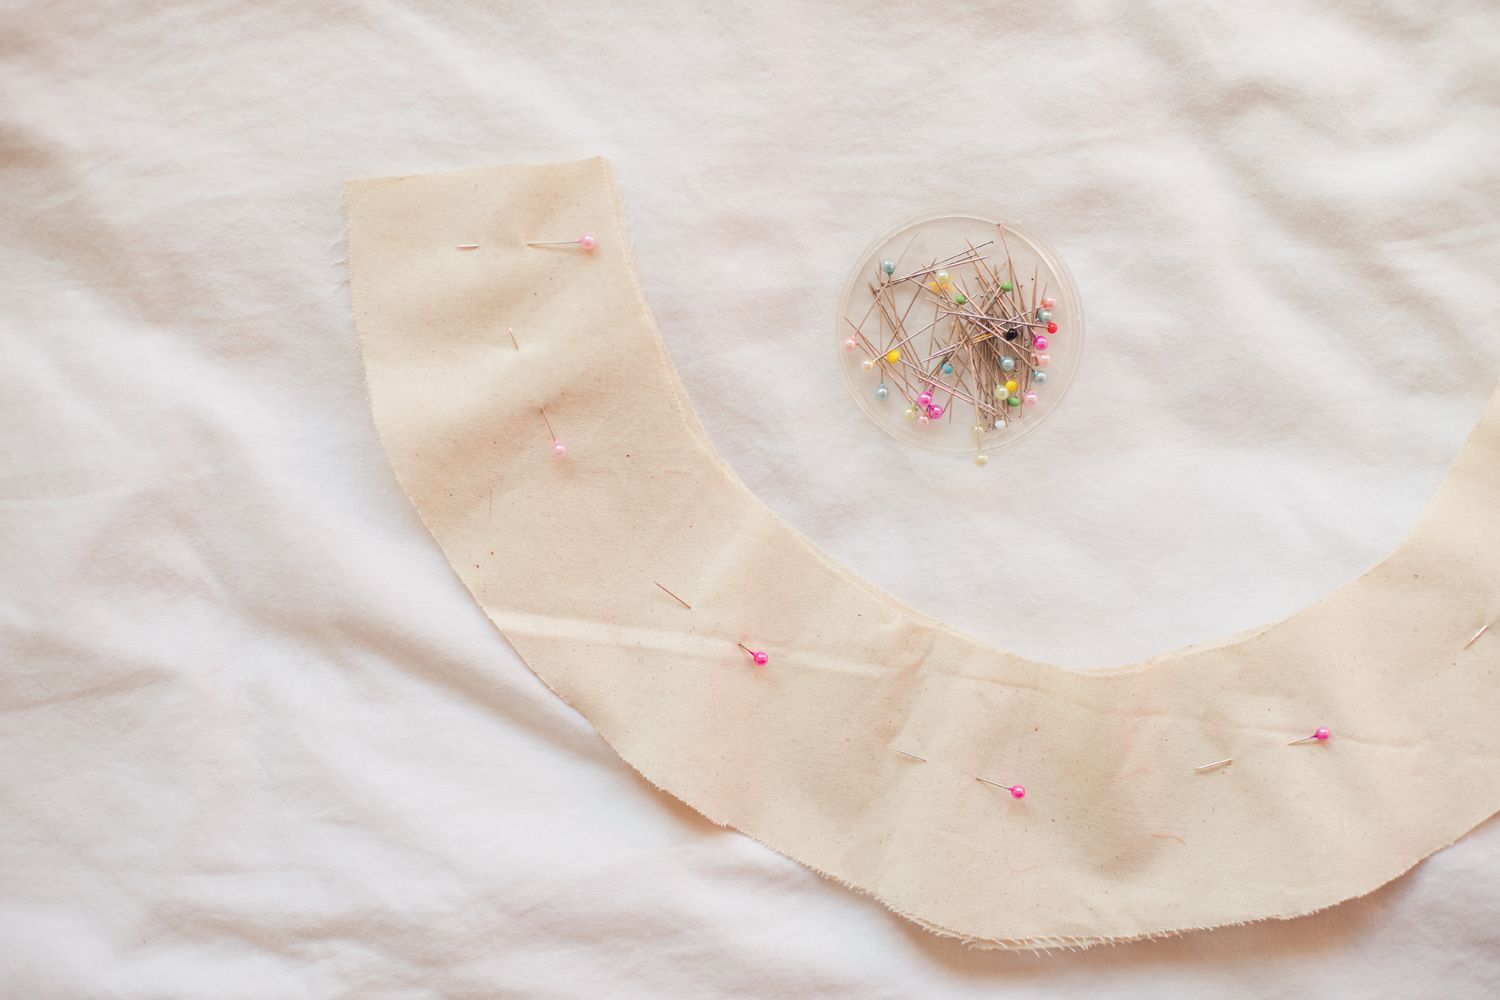
After cutting out the two pieces of fabric, lay them flat, flip them to the wrong side and pin together.
You’re flipping the pieces to the wrong side because after they’re sewn together, the collar will be turned inside out.
Again if you are using a material like calico it’s not necessary to do this.
6/ Add your ribbon.
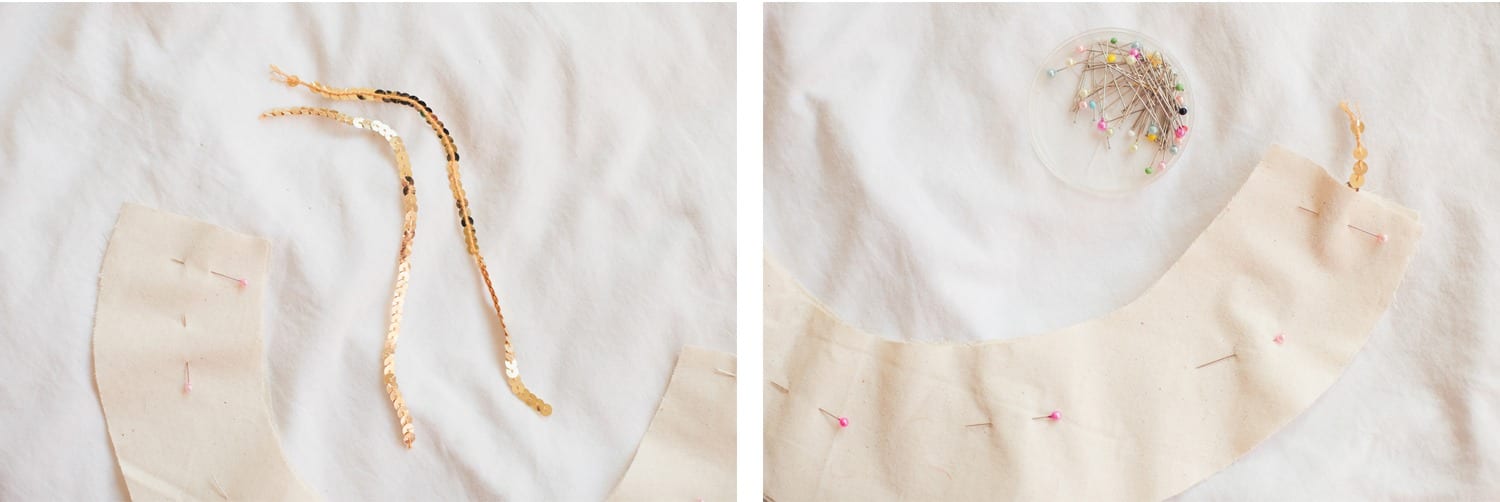
Now is your time to add a ribbon to either side. You’ll want the ribbon to stick out slightly so you can sew over it but aim to keep the remaining section of ribbon (which will be tucked inside the collar) well away from your sewing path so you don’t accidentally sew over it.
7/ Sew your collar together.
You can see on the template a dotted line. This is your sew line. You don’t need to be super accurate, just make sure you sew in from the edge of the material. At this point, you’ll need to leave an unstitched 5cm (2″) gap so you can flip your collar inside out. I choose my gap at the back of the collar. After I flipped my collar inside out, I used thread and needle to sew the gap back up. This stitch is great for that!
8/ Now it’s the fun embellishment time!!
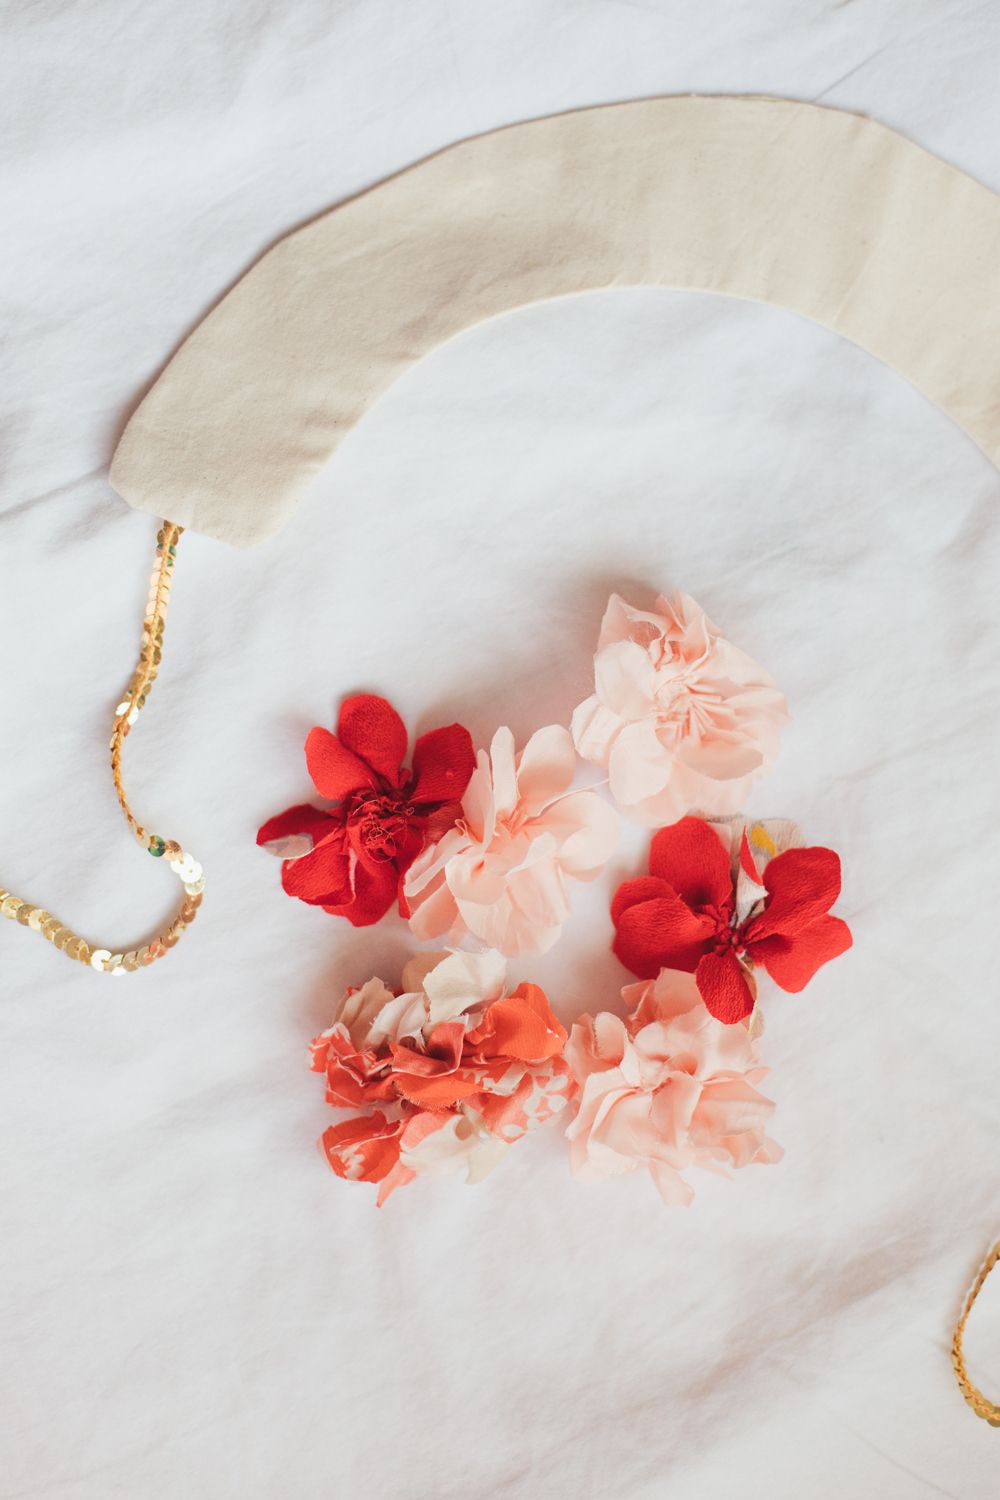
I used Anne’s (from Flax & Twine) tutorial as my base. I free-styled the (smaller) template’s shape, cutting directly into the fabric. With this method the petals weren’t uniform, I just aimed for a rough petal shape. The rest of the tutorial I followed – the running stitch and then every 3-4 stitches I pulled the thread together and secured with a double stitch. I tried a few different fabrics but my favourite was a light weight satin-esque material and some kimono fabric scraps. Material that is light weight and has the ability to fray, work well!
9/ Sew on the flowers
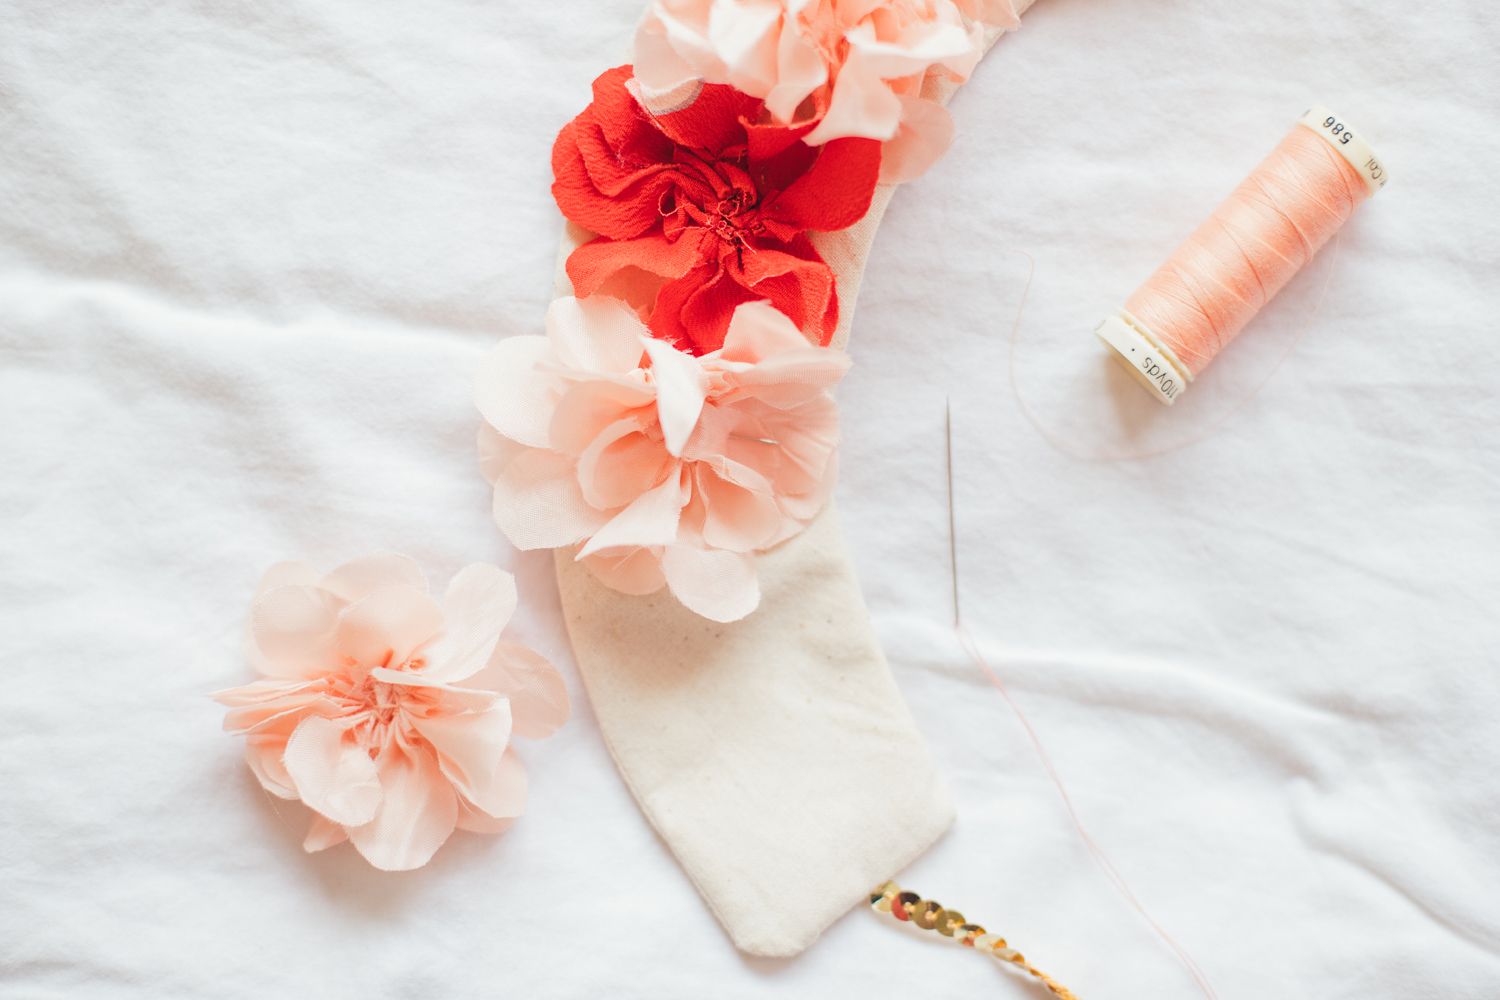
Rearrange your flowers and sew into place (or use a hot glue gun).
Be careful not to sew through both fabric pieces of the collar.
Feel free to experiment with the number of flowers you use on your own collar.
10/ Buttons, Beads, Diamontes!
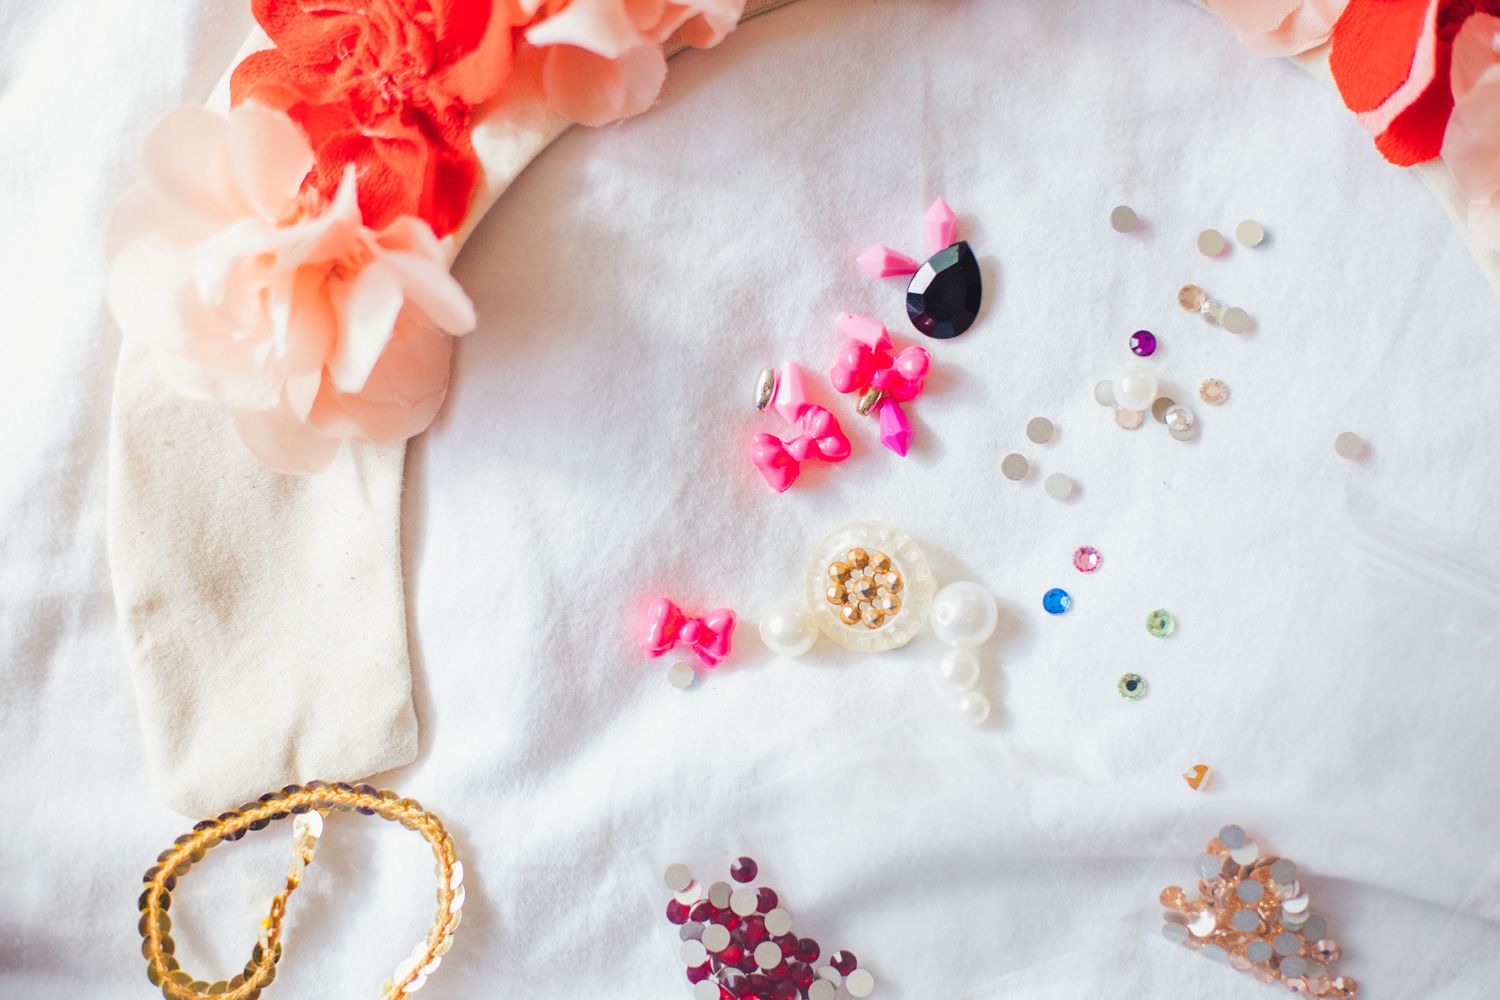
I think this was my favourite part. I opened my craft box and dug out all my pretties I’d been hoarding.
I could have sewn on the beads and buttons but my trusty hot glue gun made the job much quicker.
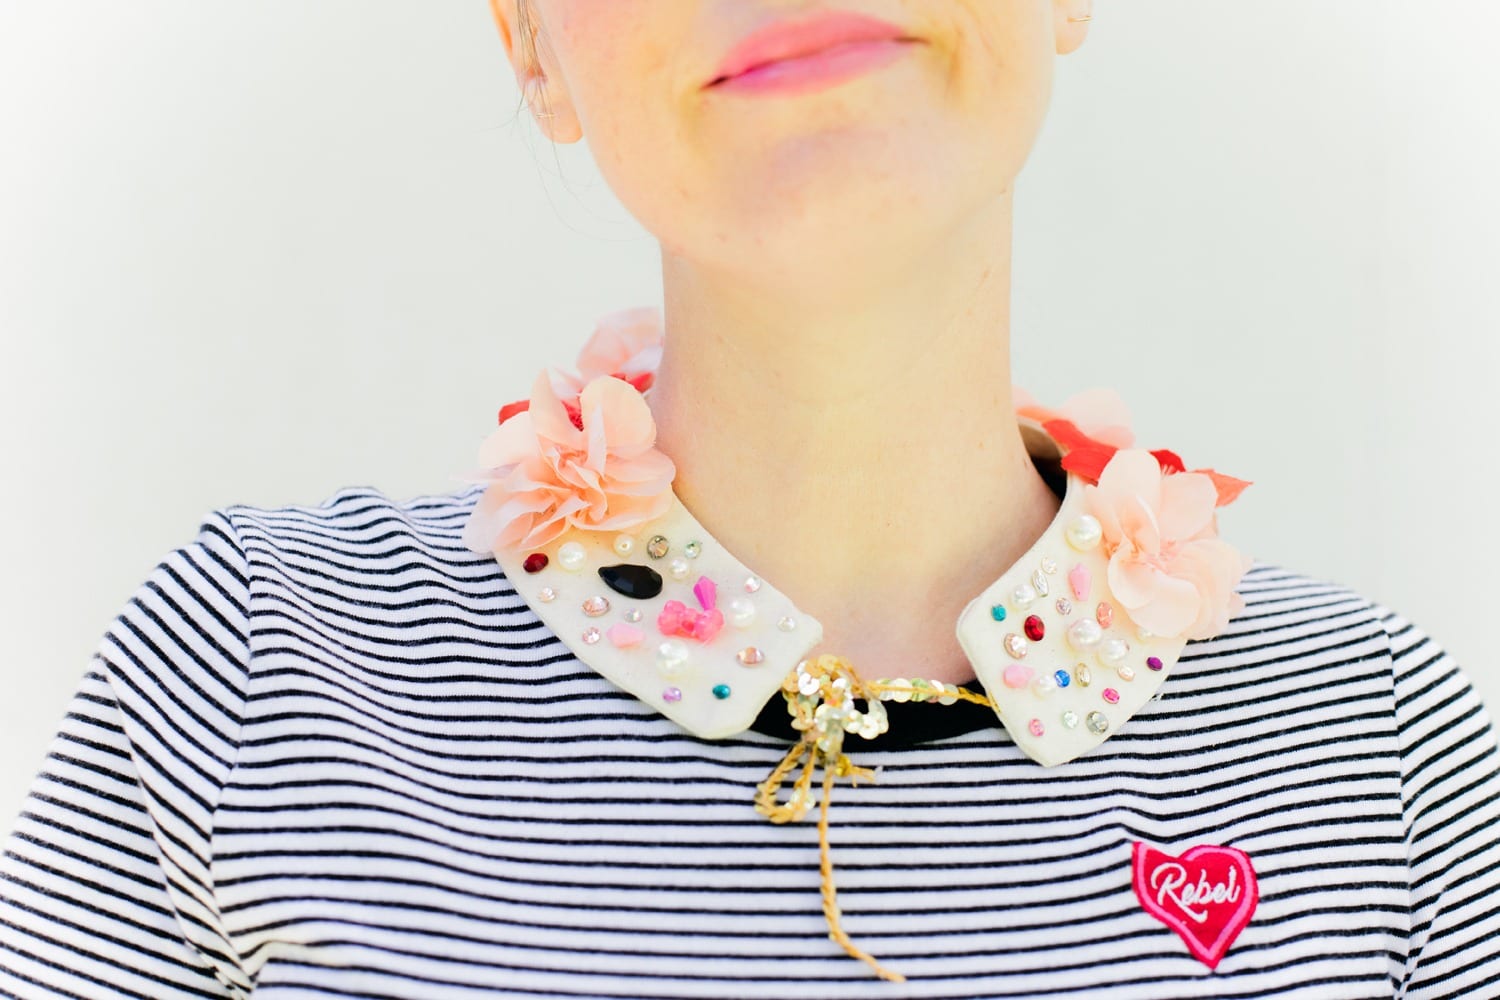
Ta-da!!!
I can’t wait to see what everyone comes up with.
There’s so much room for creativity; from the fabric choice to the flowers to the embellishments, even down to which ribbon you use!
Please tag me on insta #spirityou so I can see your creations.
Happy sewing!
–
Want to see what else I do? Come peek over on my insta or grab a freebie when you sign up to my newsletter below 🙂 🙂