How to bring your orchids back to life
I find it almost impossible to walk past a flowering orchid without contemplating its purchase. Over the years, I’ve treated myself to a small collection of orchids. Now here comes the confession part, a few weeks later (after their pretty blooms have died) I shamefully set their routines on autopilot. A routine created off a quick googling – not much water and indirect light (tick, tick!). Does this sound like you? Perhaps you’ve gotten to the stage where the lush leaves are now starting to look worse for wear. Or wondering if your pretty orchid will ever bloom again?
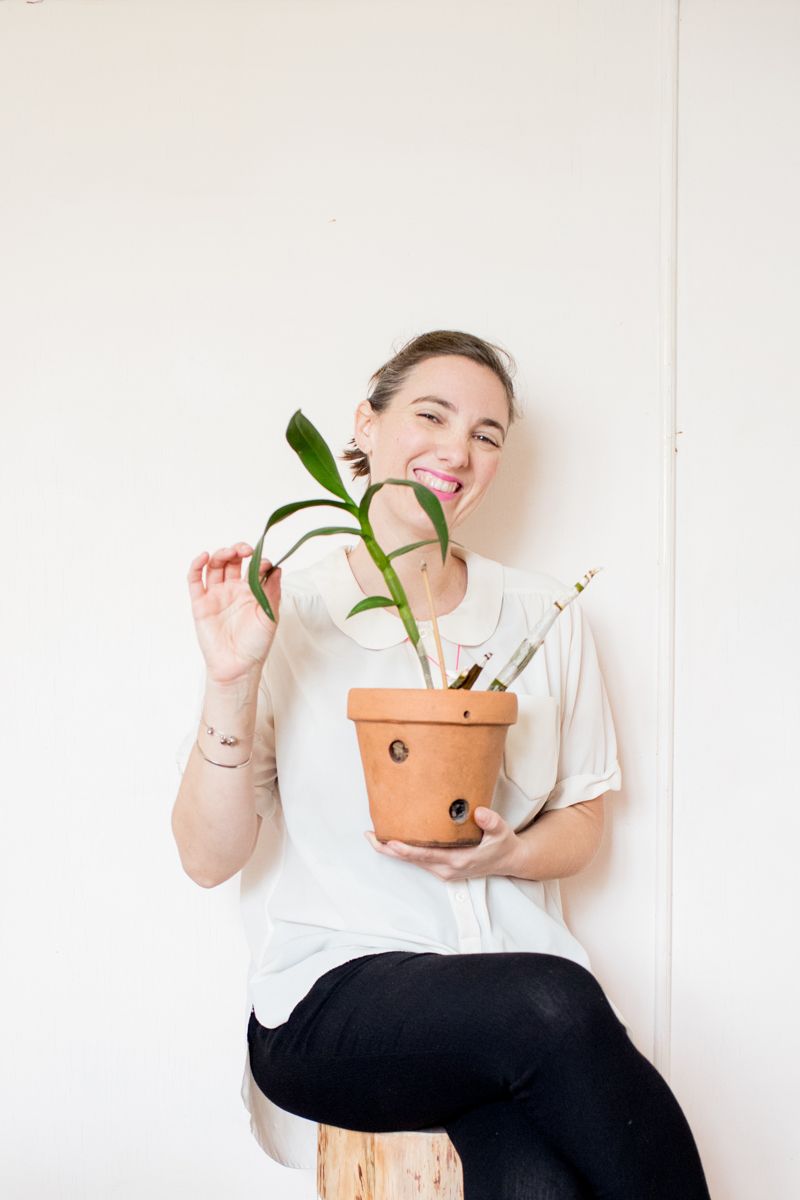
Last year after my Dad died, I picked up the orchids from his home. They were severely neglected. My dad didn’t have a green thumb but his Mum did and the orchids were originally hers. There’s something serious about keeping plants alive from a loved one. It felt important to do a deep dive into orchid care and try and keep the connection between my Grandma, my Dad, and myself alive. Below is what I’ve learned over the past year and what has been successfully working for me. Luckily it’s ridiculously simple! If you hate reading, you can skip directly down to “my process” where I lay it all out for you.
HOW-TO
If you think about how orchids grow in nature, it will give you some big clues. Most tropical orchids are epiphytes that means they grow on another plant and often in crocks of trees where they absorb moisture and nutrients from the air and rain + the plant, they’re living on. If you look at your own orchid you’ll notice if it has either thick leaves or a thick stem/roots which is where it stores water. Living on another tree and not in soil means orchids typically need low water and low (or indirect light) since they’re shaded by another tree.

WHAT YOU’ll NEED
THE POT/MIXTURE
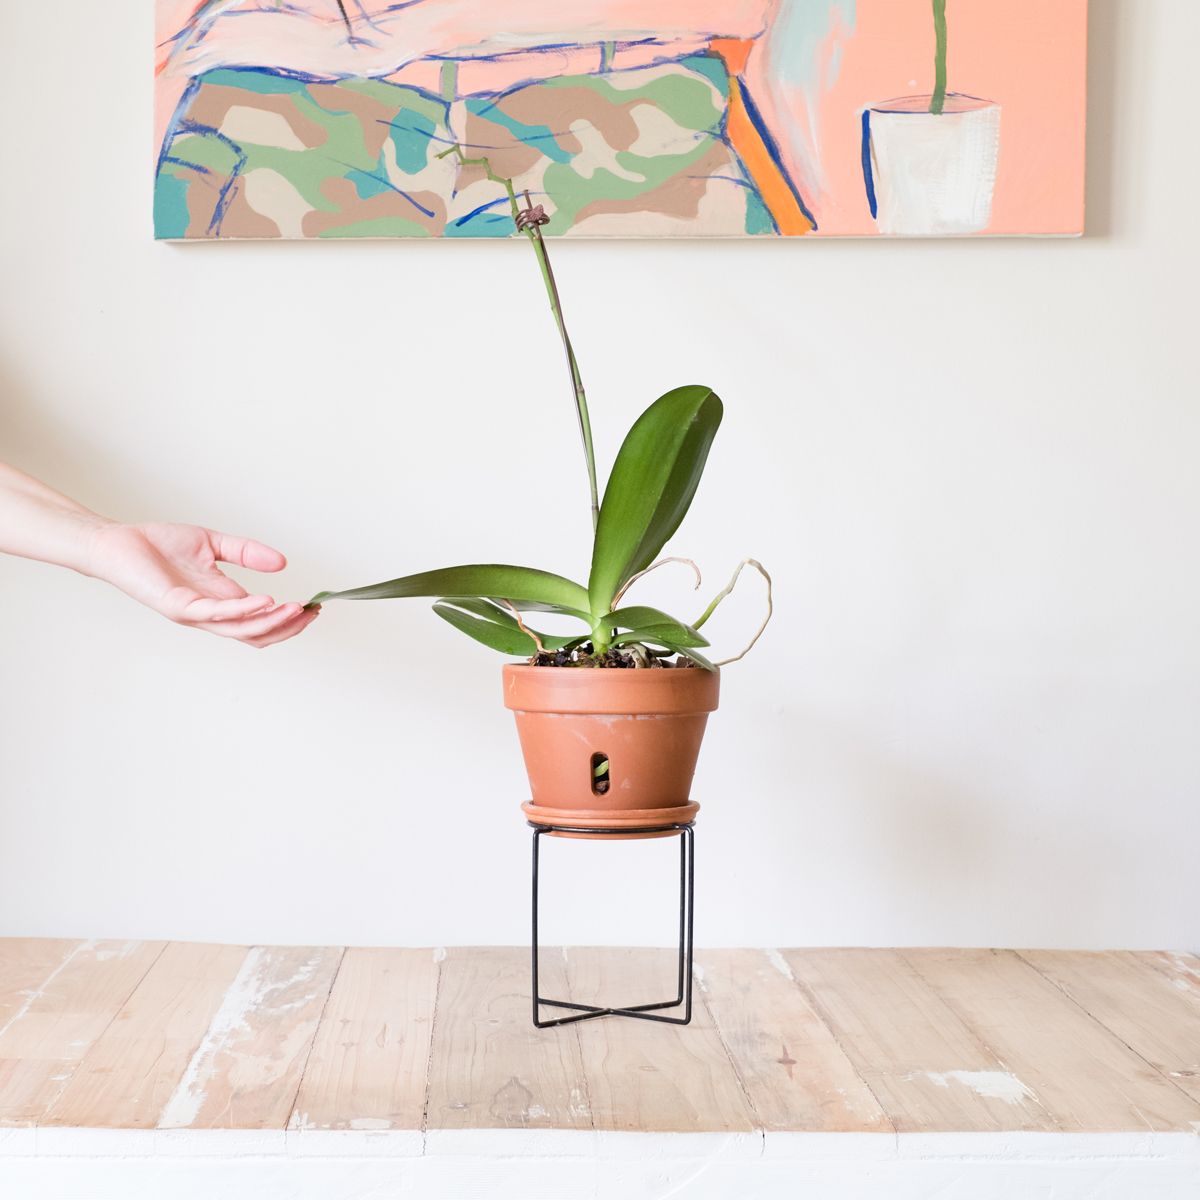
Your orchid wants to be positioned so at least some of its roots can receive air (you can buy specific terracotta pots with holes for this exact purpose + extra drainage). Unless you have a terrestrial orchid (do a quick google to see!) orchids don’t want to sit in a moisture-dense compound like soil, so avoid standard potting mixes.
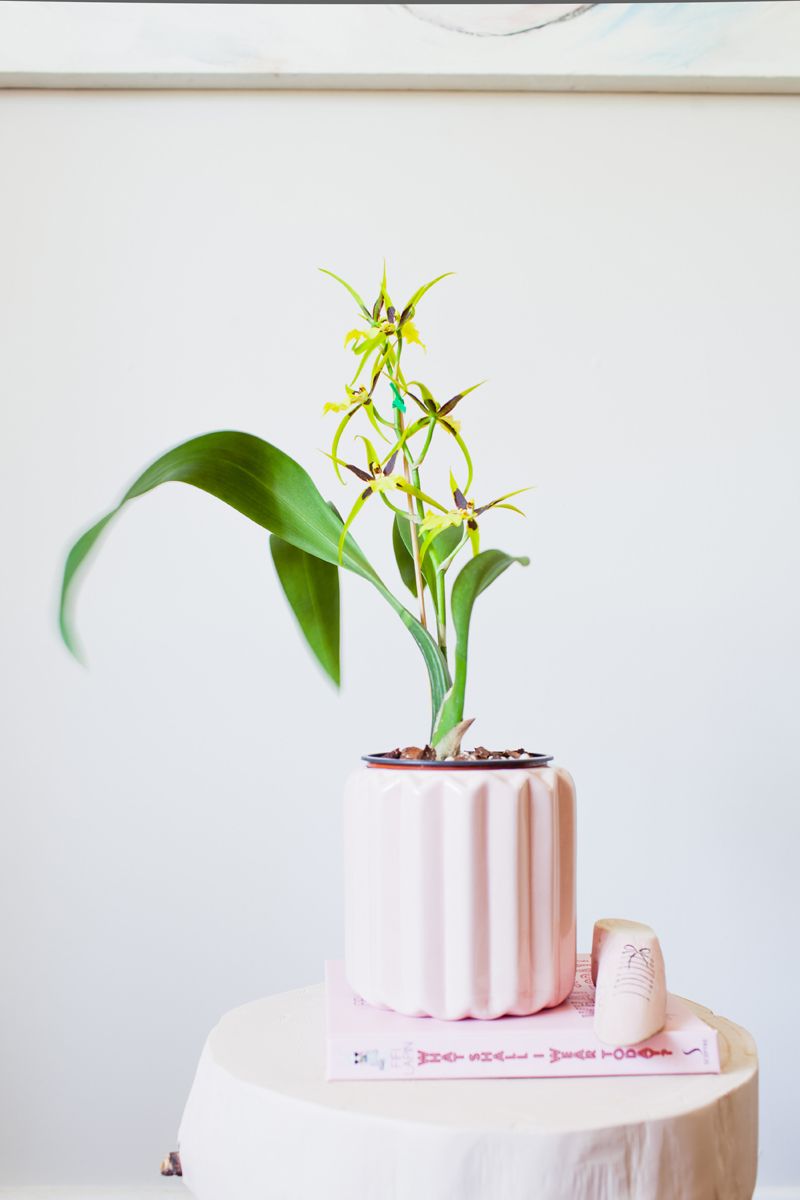
I’ve had the best luck potting my orchids in hardwood chips which mimic bark on trees and help prevent root rot, allow circulation, and carry some moisture (if you’re orchid needs to grab some extra).
If your orchid is looking very unhealthy, it’s nice to do some root maintenance before implementing any changes, just cut off any black/dead roots to give it a fresh start.
WATERING
You’ll want to set up a watering schedule. This will be dependent on the climate you’re in but for simplicity’s sake try twice a week, in the beginning, as a starting point. Cooler temps in winter or high humidity (where orchids are able to receive moisture from the air) means you can cut back on your watering to once a week or less.
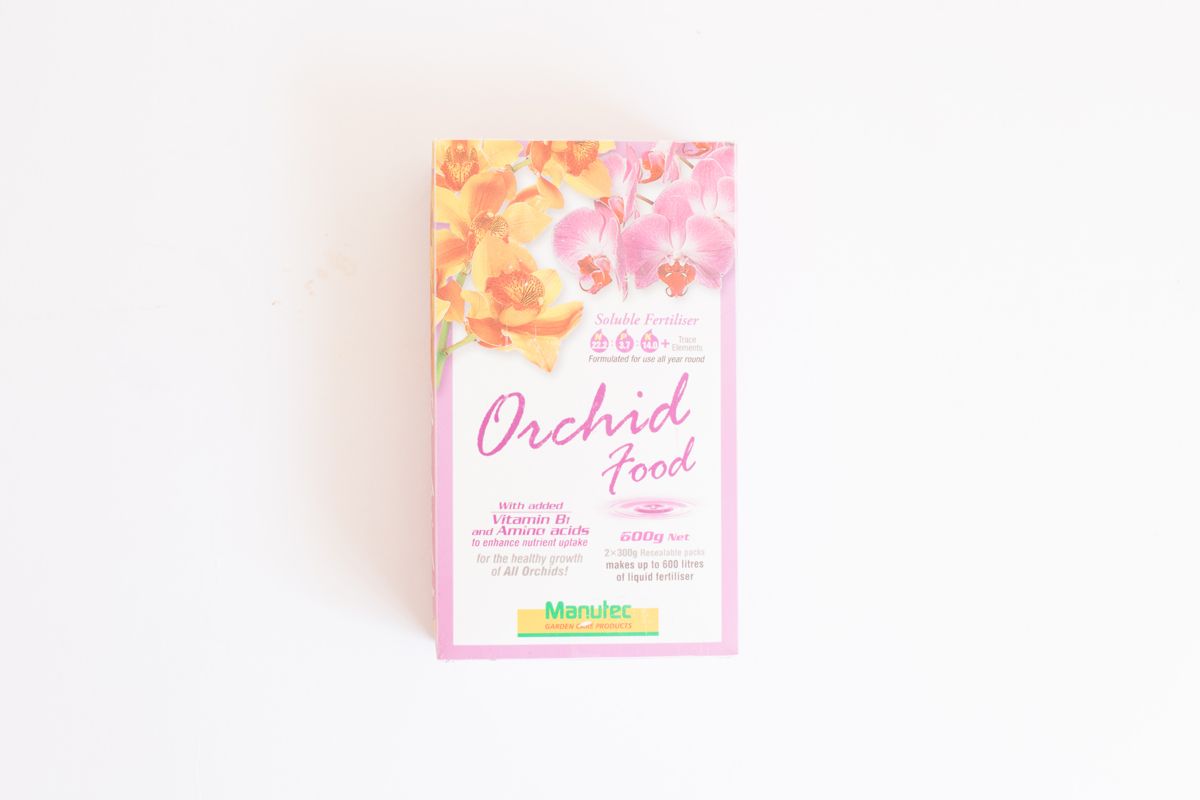
FEEDING
This has been my greatest discovery- orchid food! It may seem like a hassle to go buy a box of orchid nutrients but after implementing this one change my orchids sprung back to life. Actually, “sprung” implies the change happened within a week or two (or less!) but the reality is I was nursing back some very sick orchids and only started seeing significant growth around the 4-6 month mark. Whilst googling, it felt like everyone had a quick turn around but I found patience was definitely needed in my case.
MY PROCESS
Every Sunday morning, I grab all my orchids from their warm sunny room (just-out-of-reach from a bright window) and carry them outside. I have a big plastic tub where I place my potted orchids in, alongside two scoops of orchid food. I grab my garden hose and add in water. I know to stop when I’ve hit the top of my planters (you don’t want the bark chips floating away in your tub!). By the afternoon I take the orchids out of the plastic tub and let the excess water drain out before carrying them back inside. I have a couple of orchids that live outside so I pour the remaining water over them as a treat! Don’t get hung up on soak time, as long as the orchids get at least an hour or two they’ll have absorbed enough water for the week. You’ll also want to place your tub out of direct light, to prevent leaf burn. I’ll then give them a quick midweek watering (just using a watering can and plain water).
AND that’s it – told you it was simple 🙂
Feel free to fiddle around with how often you water or the position of your orchids inside, especially if you see no, new growth after 6 months. I have a sneaky suspicion if you follow the above steps you’re orchids will thank you immensely!
–
Want to see what else I do? Come peek over on my insta or grab a freebie when you sign up to my newsletter below 🙂 🙂