Kombucha Brewing Guide
If you’ve ever wanted to know how to make your own kombucha at home (from scratch) you’ve come to the right place. This guide will cover everything you need to know from how to get a scoby, the perfect recipe, 2nd ferment and flavouring.
I’ve been drinking and making my own Kombucha since 2014. My friend Karla introduced it to me and over the years I’ve adapted her instructions to what I’m sharing with you today. There’s a lot of talk about Kombucha’s health benefits, I don’t claim to know the answers but it beats those sugary juices and iced teas I was consuming beforehand. Kombucha was my golden ticket to hydration as I always found it difficult to consume the recommended daily water intake.
If you look ahead to the ingredient list you’ll spy a whole lot of sugar. The magic of kombucha comes down to the SCOBY (Symbiotic Culture of Bacteria and Yeast). If you’re going to make your own kombucha (or consume it) you’re going to have to be okay with a blob of culture. The scoby is responsible for converting the sugar into vinegar and during that conversion period is the magic kombucha taste. The power is with you. Brew it for a short time and you’ll find yourself with a drink similar to iced tea, brew it for longer and you’ve entered into apple-cider-esque town. The more you sway to the vinegar side the more you’re meant to reap those health benefits and happy gut bacteria!
What you’ll need
/ 8 LITRE GLASS DISPENSER (you can alter the measurements below if you have a smaller or larger vessel)
/ 7 x 750ml glass bottles with airtight lids for bottling the kombucha
/ 6 litres of water (filtered is best but not necessary)
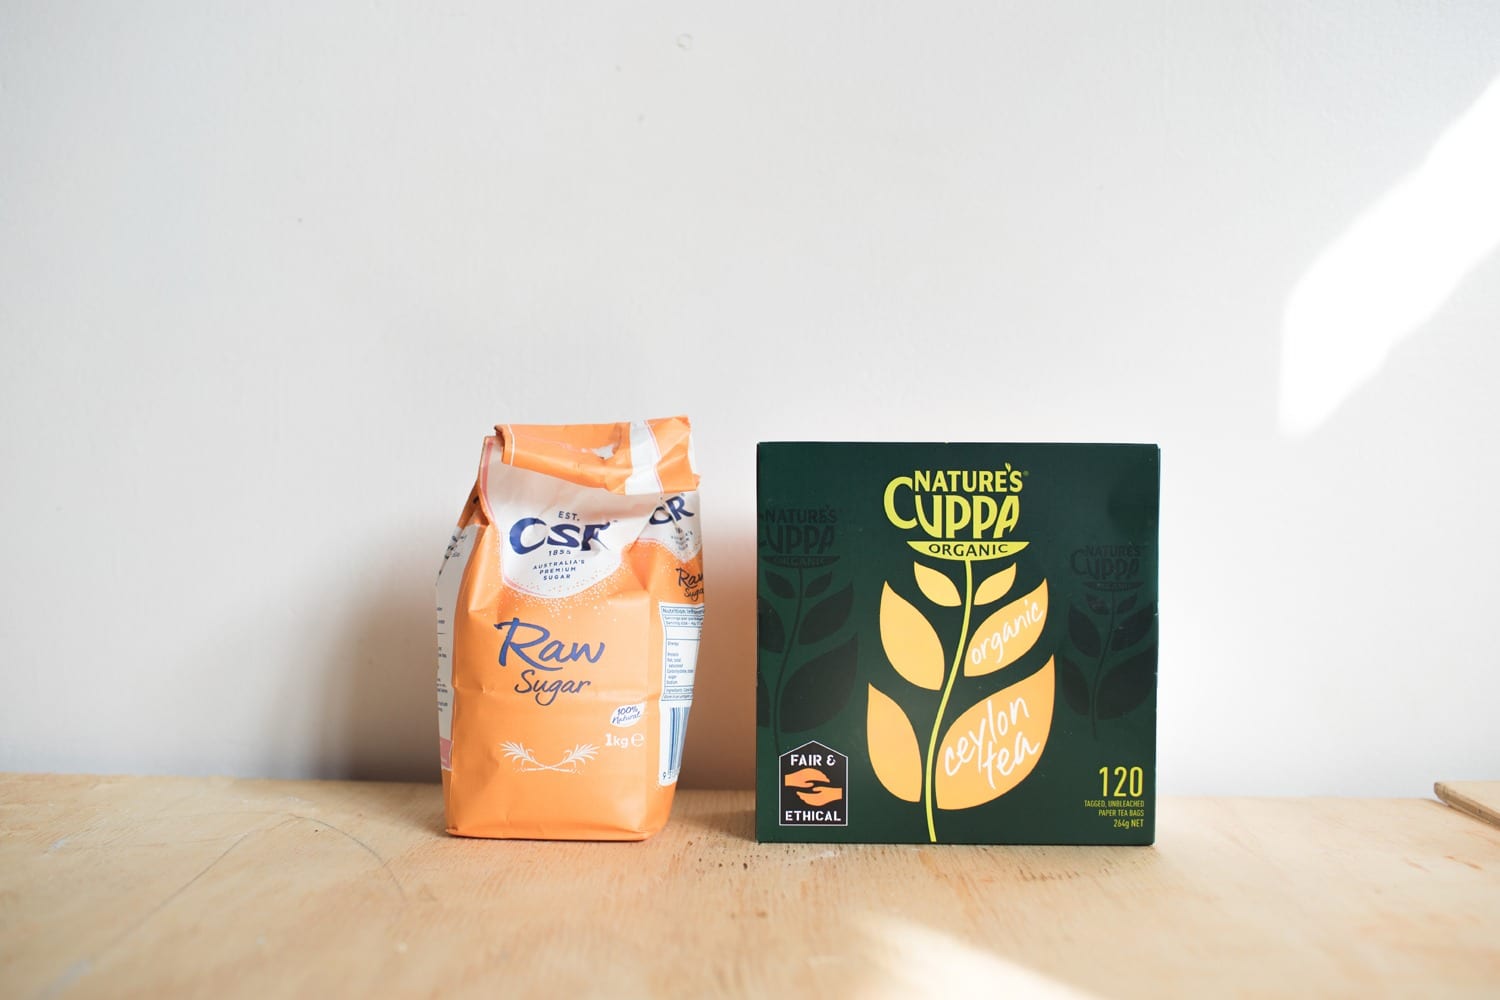
/ 2 cups of raw sugar
/ 9 Ceylon tea bags
/ 1 scoby sitting in kombucha liquid (around 1-2 litres of liquid)
/ Piece of calico/thin airy material to cover the glass dispenser + elastic band to secure cloth
/ White vinegar for sterilising
How to Start A Kombucha Scoby
If you don’t know where to get your hands on a scoby a good tip is to buy a bottle of kombucha from the shops and check to see if it has a floating clear blob near the top (that’s a scoby!). I grew my scoby from a little blob, simply by sizing up the vessels and using the steps below (just with smaller measurements, resized for the vessel used). Mine took about 3 months (in Australian summer) to get to the right size for my weekly continuous brew below. If you have a friend who brews kombucha, definitely see if they are willing to give you some of their scoby. As a kombucha brewer, you’ll periodically need to downsize your scoby (which I’ll cover later, down in Scoby Maintenance). You can also purchase a scoby online as well.
KOMBUCHA BREW RECIPE (for a continuous brew)
1/ Sterilise everything (hands, glass bottles, bench space, vessel) using white vinegar.
2/ Place your scoby and the 1-2 litres of kombucha liquid into your glass dispenser, cover with cloth.
Since we are setting this up for a continuous brew you’ll only need to do this step once. If you got your scoby from a mate hopefully it came with some kombucha liquid (this helps to speed up the fermenting process). If you grew your scoby from a little blob, then it will already be sitting in liquid. You can do step 2 now, or just before step 7.
3/ Place 1.5 litres of water into a saucepan – heat on medium/high.
4/ Dissolve 2 cups of sugar into the water and stir (you want to make sure the sugar doesn’t stick to the bottom of the saucepan).
5/ Once the water gets to the boil (the sugar should be dissolved by this stage) turn the heat off and place the 9 teabags in (just twist them up, hang their tags over the side of the saucepan and pop a lid on).
6/ Leave the teabags to steep for 20 minutes and then take the teabags out and discard them (I also ring out the teabags before discarding).
VERY IMPORTANT – let the tea cool to room temp (I leave mine overnight) otherwise it may damage the scoby when you pour the mixture into your glass dispenser.
7/ Once the liquid has cooled, transfer the 1.5 litre tea mix to your 8-litre glass dispenser and add in (roughly) 4.5 more litres of plain water. I honestly don’t measure this amount, I just keep adding in water until the dispenser is almost full (I leave a little bit of breathing room at the top)
note: since I continuously brew, my scoby and some of the previous liquid from the last brew (1-2 litres) is already sitting in the bottom of the dispenser. For your first time, you should have followed step 2.
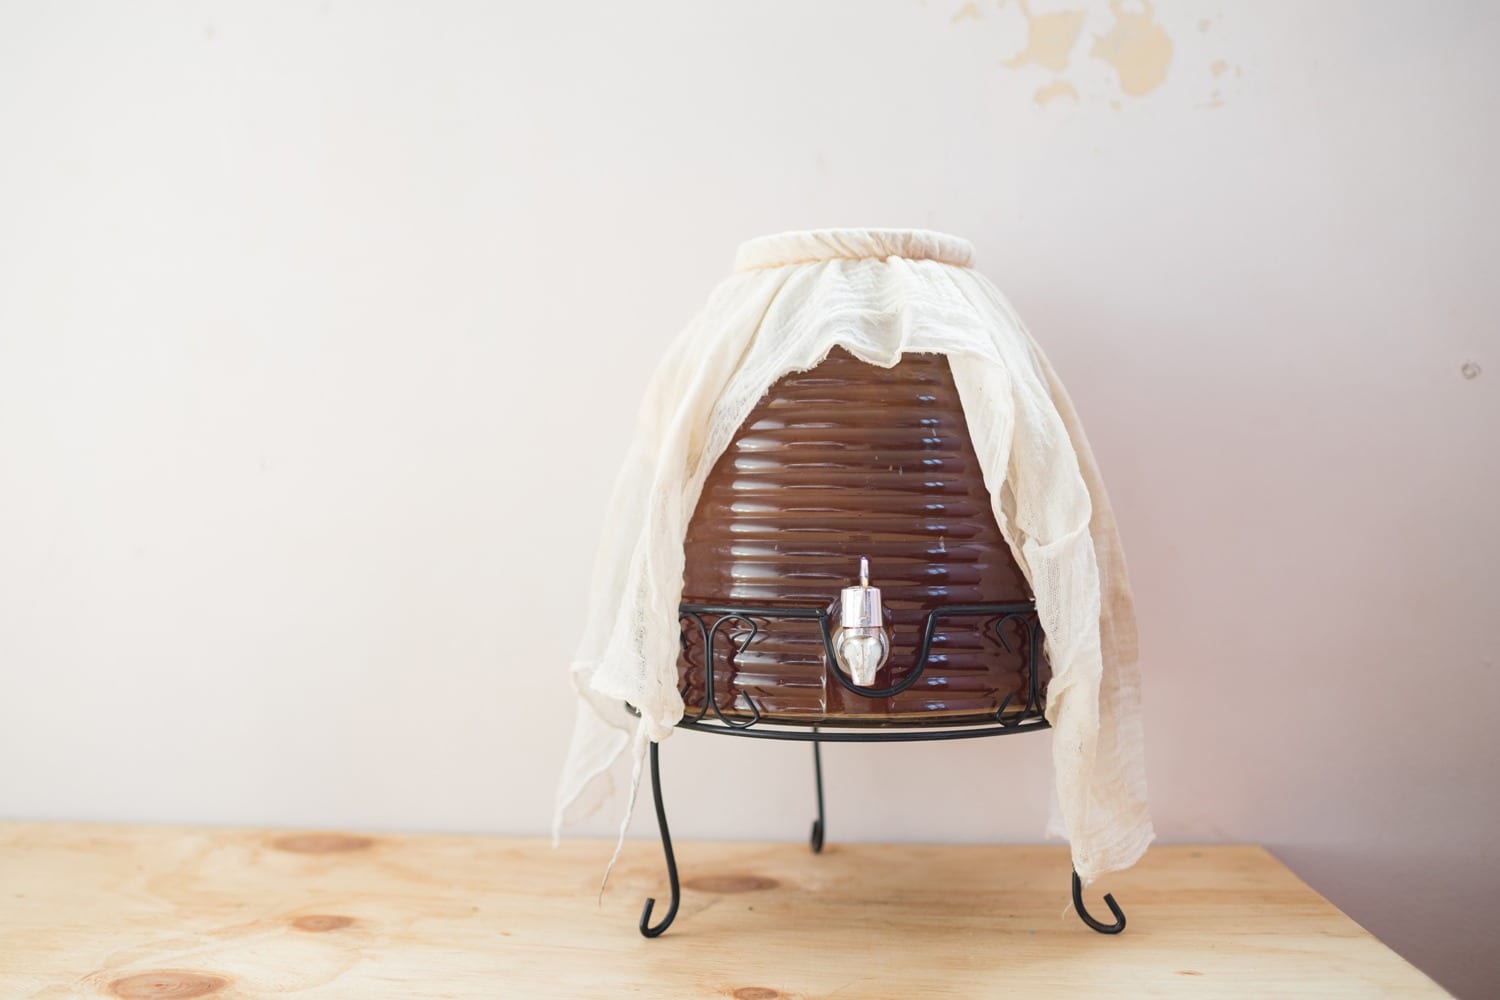
8/ You’re almost finished, just place your cloth back over the glass dispenser, secure with an elastic band and place into an airy/dark-ish environment (as long as the dispenser isn’t getting direct sun you should be alright). My dispenser sits on my kitchen top, away from the window.
First Ferment
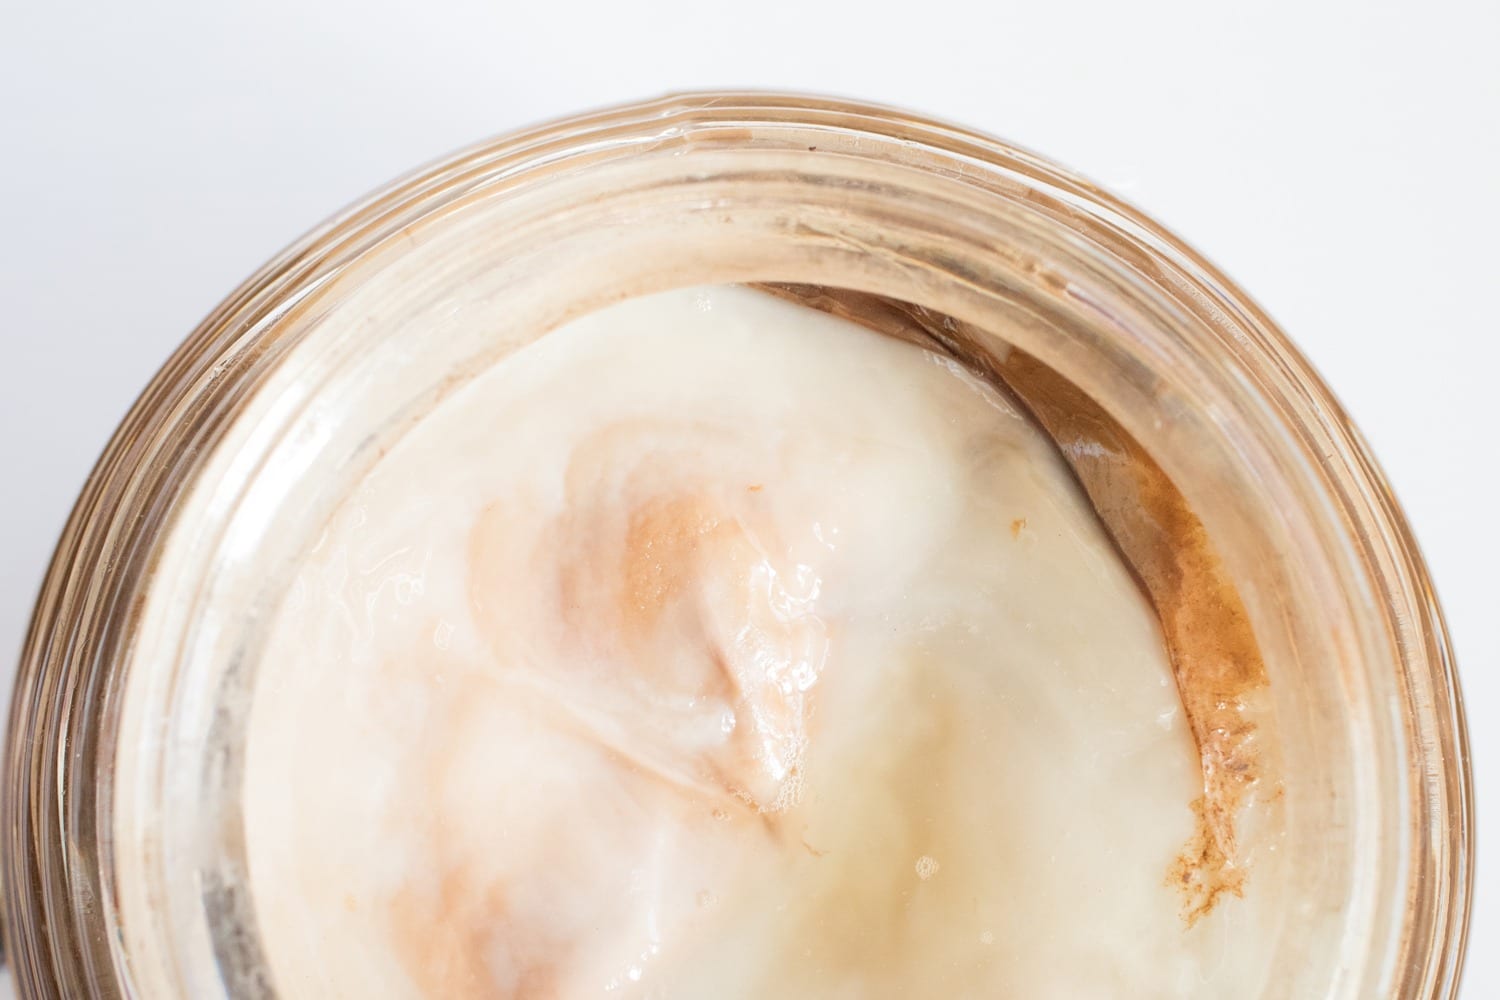
Now it’s time for the mixture to ferment and the scoby to do its thing. The fermenting process time will vary but it’s a good idea to visually check and taste your mix every few days when you first start out. If you see mould this is bad and you should throw out everything and start again. Your scoby will change colour (tainted by the tea) and may look weird/strange/have dangly bits and cloudy bits which are all normal but you may freak out. There are some good resources on the internet that helped calm my own personal freak out – this page is helpful. You can also scroll up and see a photo of my own scoby under ‘how to start a kombucha scoby’. Fun fact, that’s the scoby I grew from a tiny clear blob.
With time you’ll freak out less about scoby contamination and you’ll become very aware of how it should smell and taste like 🙂 It’s been my role over the years to reassure my friends that their scoby was totally fine. I’ve found scoby’s to be very resilient and I’ve personally never encountered mould.
My large scoby (which fills the width of my vessel and is 5cm in height) takes 1 week for the perfect brew. Your own brew time will depend on how big your scoby is and the temperature (the colder the air, the longer it takes to ferment). Taste preference also plays a part, if you want your brew to have a more sour than sweet taste you’ll need to wait a little longer. Don’t be afraid to taste test the mix straight from the glass dispenser.
As a super rough guide, you should be getting a good taste somewhere between a 5 – 30 days, depending on weather, scoby size and personal taste preference.
Once you think the taste is perfect, it’s time to bottle up the Kombucha and do the 2nd ferment!
Second Ferment
Second ferment is simply, bottling the kombucha and letting carbonation happen.
Dispense the kombucha liquid into your glass drinking bottles. With my continuous brew method, I bottle mine the same day as I make the next tea brew (steps 3-8) I recommend buying a glass drink dispenser for that exact reason – it’s easier and you don’t have to touch the scoby and risk contamination. Just remember to leave the 1-2 litres of kombucha liquid (plus scoby) sitting in the bottom for your next brew.
After pouring the kombucha liquid into the bottles, leave the bottles in a dark space. I leave my bottles on top of my cupboard in a corner of my kitchen. I still haven’t perfected the perfect carbonation but I believe filling your bottles up 80% helps build the fizz alongside bottles with great seals. I start my next brew when I’m down to my last 1-2 bottles of kombucha. Since I always have a bottle of kombucha in my fridge, the first 1-2 bottles don’t have a long (or any!) 2nd ferment stage and they still taste fine, just lack some fizz! I’m not a huge chaser of the fizz, just a little fyi!
Flavoured Kombucha
Everyone’s process is a little different but I add my bottles to the fridge as needed. When I put the bottle into the fridge I then add my flavours. I’ve been on a solid passionfruit kick of late. I cut up one passionfruit and scrape the contents directly into the bottle and then place the bottle into the fridge. Additional flavouring is not needed, kombucha by itself has a really lovely taste and I’ll often stick my bottles straight into the fridge without anything else added 🙂

OTHER FUN FLAVOUR COMBOS
(Thanks Shane, Emaya and Karla!)
lemon myrtle leaves
mango/peach/apricot (dried or fresh, squeezed or cut into pieces)
lemons
ginger
berries
(or a combo of the above!)
The skies the limit! Also when you add fruit into your mix (or anything with sugar) the fermenting process will continue and the carbonation and fizz will build up, the longer you leave the bottles out. If you’re someone who loves fizz, try experimenting with different fruits and quantities and how long you leave your bottles out.
Scoby Maintenance
As you travel the continuous brew journey you’ll eventually start to notice that your brew is too sour and you’ll have to intervene. This is the result of your scoby’s growth (from all that sugar eating). Simple maths; the bigger your scoby, the faster the brew time. An easy fix. Using super clean hands, grab the scoby out of the dispenser and throw part of it away (or give it to a friend or your garden). You’ll notice your scoby has grown in pancake-esque layers. Simply peel off the oldest bottom layer/s (most noticeably stained from the tea) and give/toss away. I do this step every 6 months or so and after I bottle up my weekly brew, which means there’s only the 1-2 litres of liquid at the bottom allowing me to clean out my glass dispenser at the same time. Hot water and vinegar will remove any scoby stains.
If you need to take a break from your continuous brew, simply place your scoby in a jar with kombucha liquid covering it and place it in the fridge. Cold, dramatically slows down fermentation.
I love kombucha, it’s ridiculously cheap (when you brew it yourself), it’s delicious and potentially doing your gut, great things. There’s some start up costs involved and the process seems slightly daunting in the beginning but once you have a few rounds under your belt, you won’t need the instructions anymore + your vessel and bottles will have paid for themselves 🙂
HAPPY KOMBUCHA MAKING!!!
–
Want to see what else I do? Come peek over on my insta or grab a freebie when you sign up to my newsletter below 🙂 🙂