How to Grow Oyster Mushrooms
Oyster mushrooms are packed with a bunch of nutrients (source), have been linked to supporting cholesterol health via their lovastatin (cholesterol-lowering molecule) and in 2008 a study identified two molecular mechanisms that inhibited growth of colon and breast cancer cells (source) plus they’re so darn tasty.
This is a practical guide to get you on the oyster mushroom bandwagon!
Have fun and eat mushrooms!
THREE THINGS NEEDED
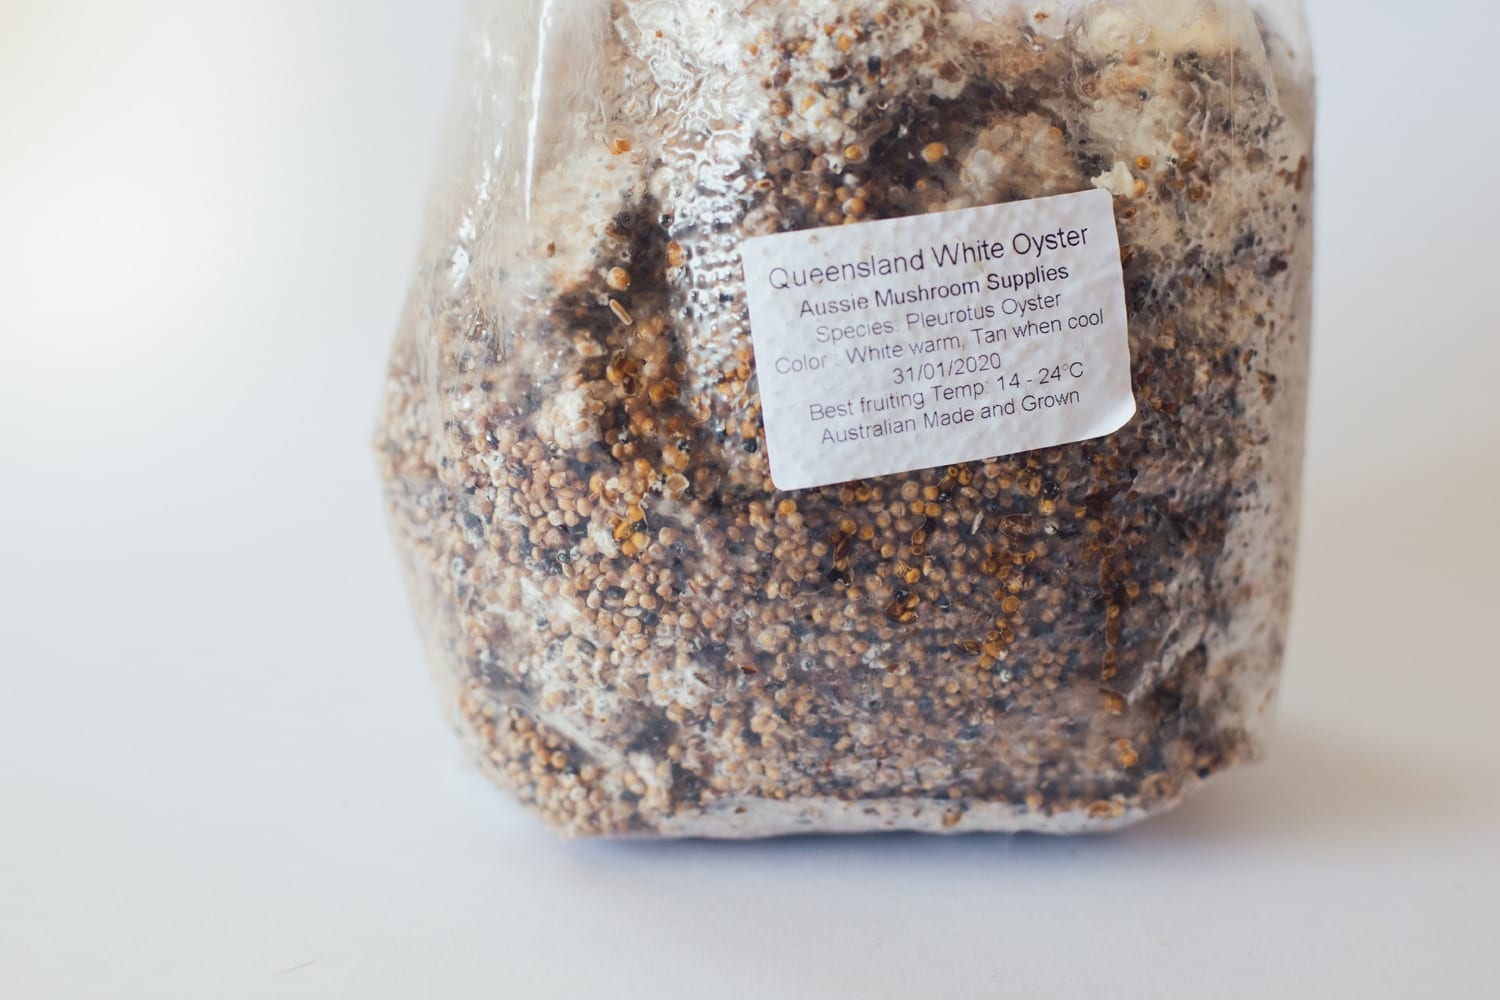
01/ Spawn
It’s possible to grow your own but save that for the full-time farmers. If you live in Australia, I highly recommend Aussie Mushroom Supplies.
Make sure you select the right spawn for your climate and temperature (very important!).
02/ SUBSTRATE
Substrate simply means, the medium you grow your spawn in. I started with free (used) coffee grounds from my local cafe. I switched over to sugar cane mulch as I found it easier to keep sterilised.

A bag of organic sugar cane mulch from Bunnings (18m2) for $16.50 which lasts a long time.
03/ Container
A simple bucket with holes drilled around the side (don’t get too caught up with hole size or placements). The bucket below, I purchased from a local fruit and veg shop, marked out the holes and drilled away (including 4 holes on the bottom for drainage). You can also find plastic grow bags online. I opted for the bucket method as I wanted a container I could re-use and keep my plastic consumption down. Make sure your bucket has a lid!
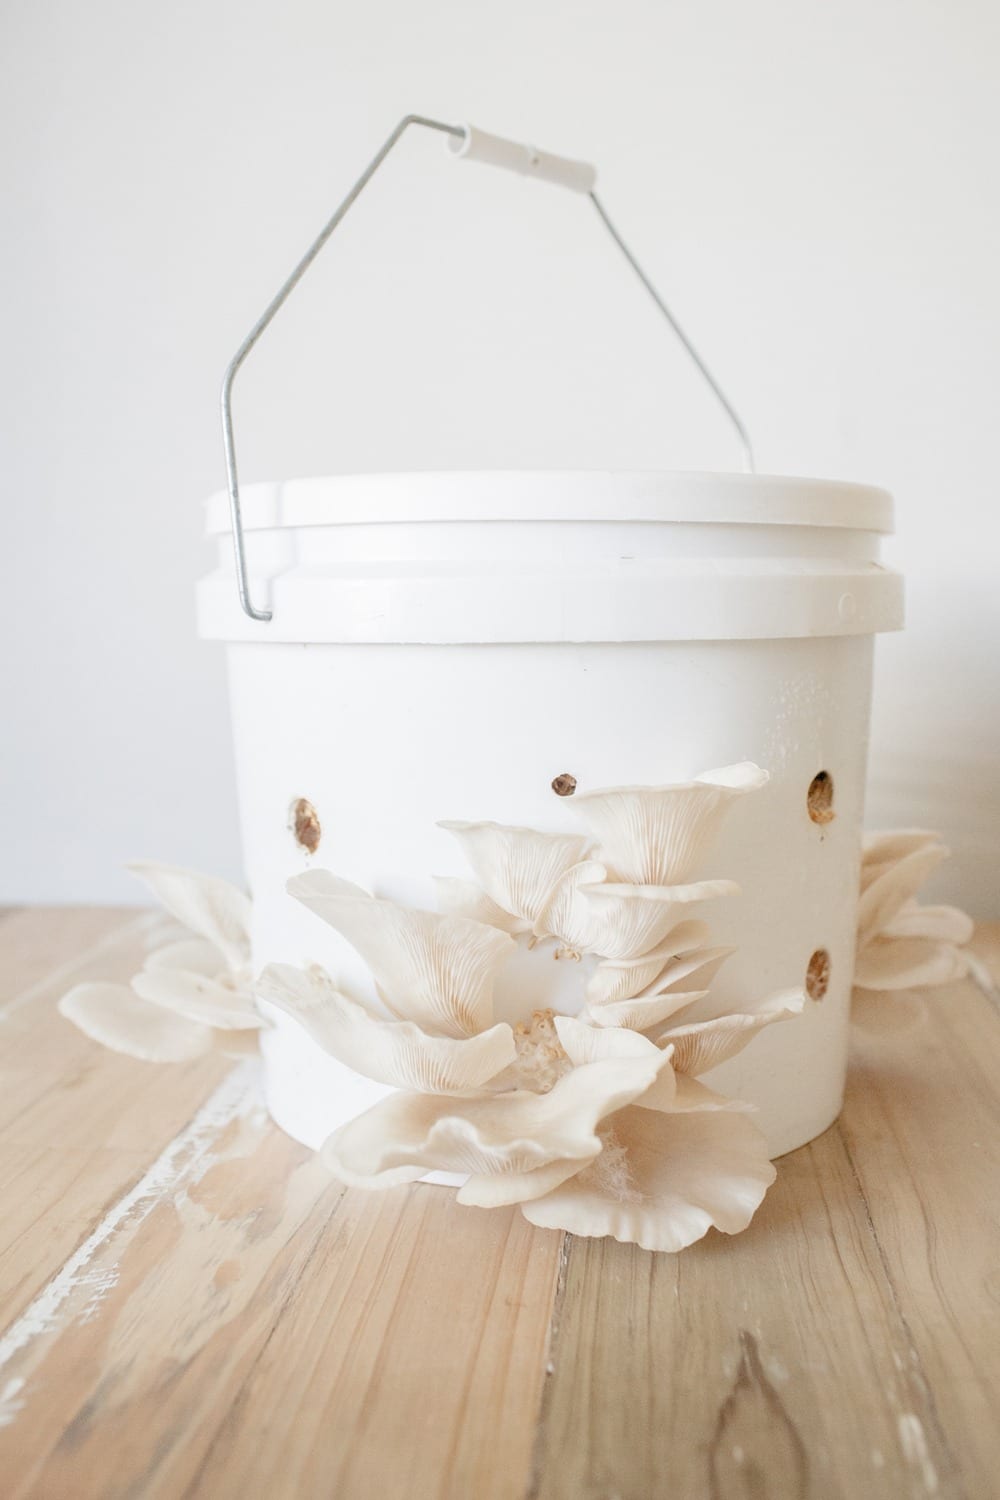
Wash down your bucket before use with a hot water/vinegar mix.
THE PROCESS
01/ Sterilise
After doing some research and asking our local mushroom growers, I’ve settled on using lime to sterilise the substrate and prevent unwanted mould from breeding.
For the sterilisation process you’ll need:
+ Tub (I use a 90L plastic storage tub)
+ ½ cup of Builder Hydrated Lime (Bunnings sells a stupidly sized 20kg bag for $12.50)
+ Substrate (sugar cane mulch)
+ Water (I fill the tub up to around 80L)
Place the straw in the tub, sprinkle the lime on top and fill to the brim with water. To know how much straw is needed, simply fill one of the buckets you’ll be using (to grow your mushrooms in) to get the correct amount. I leave the tub set up outside, with a cloth over it for 12-24 hours. I also place four pieces of cut bamboo on top of the cloth as weights to help keep the straw down. After the 12-24 hours I wash my hands and scoop the straw back into the buckets. The pre-drill holes in the buckets let the excess water drain away.
TIP: If your concerned about the correct lime amount, you can purchase PH strips (cheaply off ebay) to test your bath’s alkaline level. Using the measurements above I got an alkaline reading of 11-12 which has kept unwanted mould at bay.
01/ Mix
After most of the water has drained away from the buckets, tip the straw back into plastic tub (make sure you’ve tipped out the water and given a quick clean out) and use (clean) hands to mix through the spawn. They say to use 10% of spawn to your substrate but I’ve used less than 5% and had success. Don’t worry about being super precise – the spawn is the most expensive component of the growing so feel to experiment with the % used.
After the spawn is mixed through the straw, scoop it back into the bucket and secure the lid on top. At this point, excess water will continue to drain out from the bucket’s holes at the bottom. A piece of tape with the date on top is also helpful for future reference.
01/ Leave
Ideally your mushrooms want to live in a room with high humidity and no direct light.
The perfect mushroom growing environment would be a controlled room with the perfect amount of humidity. Since many of us don’t access to a growing lab you’ll need to pay attention to the weather and temperature. With a lot of dry days, you might need to pop your mushrooms in your bathroom and give them a mist of water daily with a spray bottle. If it’s been raining, you want to avoid the spray bottle altogether and place them somewhere like an open garage, where they’ll get some breeze and light, just no direct light! The natural light source of the area should be enough to read a book in.
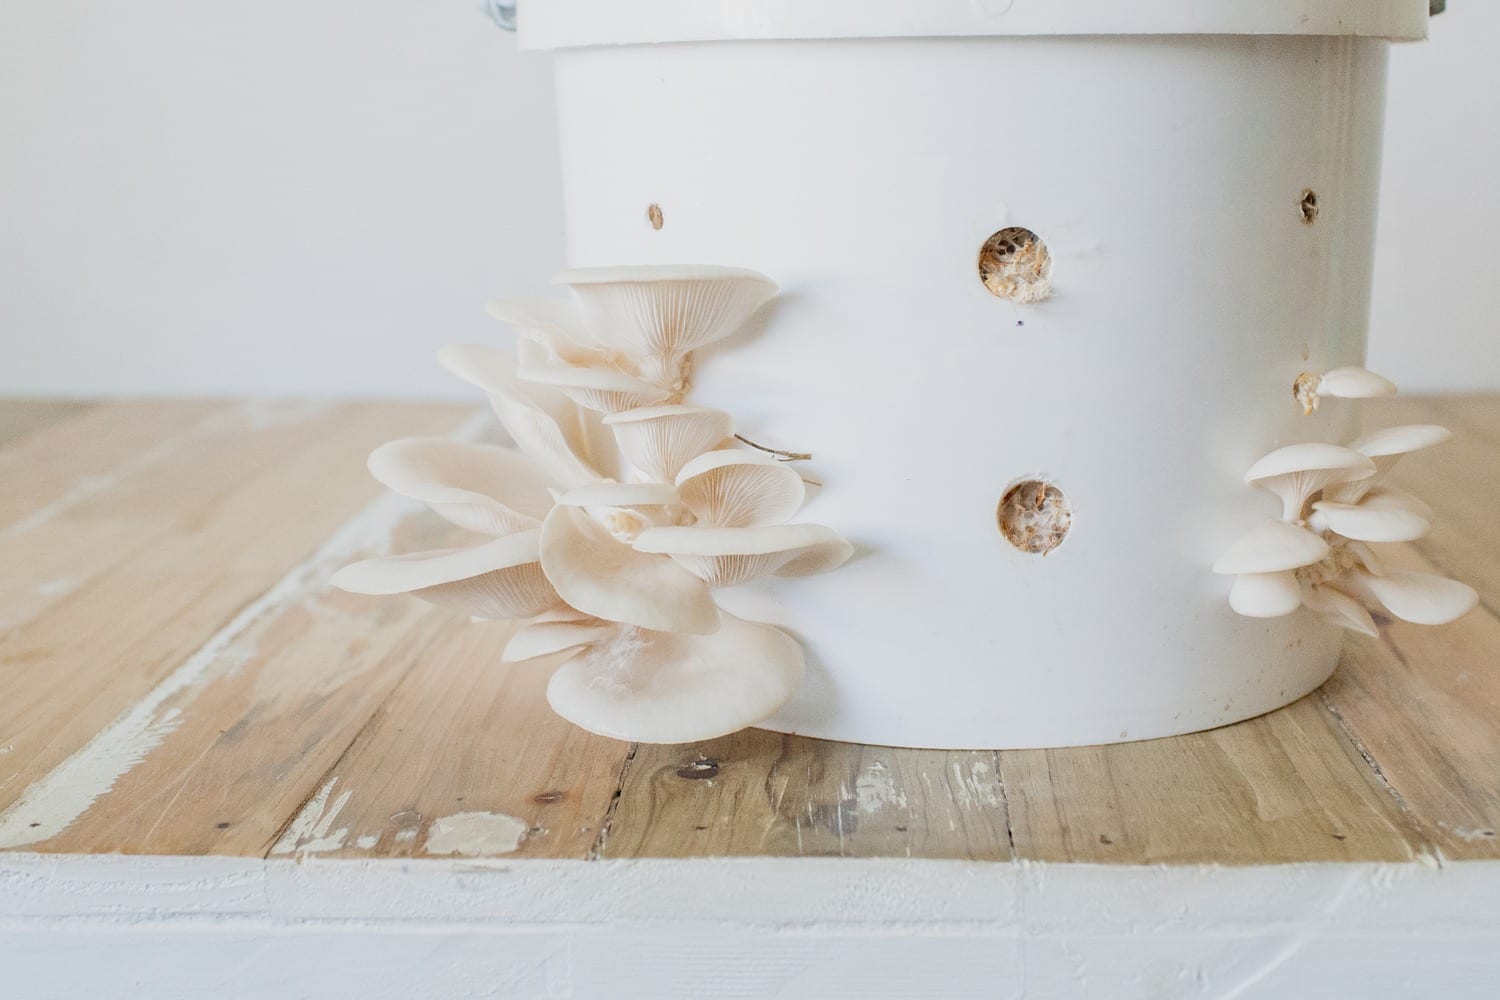
SPOTTING MUSHROOMS
You should see some tiny pin heads 2-3 weeks after you make up your mix.
At this point (unless it’s been raining a lot) start daily spraying your mushrooms with your water spray bottle. Since the mushrooms should now have successfully dominated the mulch it’s okay to lift the lid and give the mulch a spray from the top too. If you notice any browning of edges (before the mushrooms have grown to full size) this means they’re too dry and need more water. If the mushrooms turn soggy, the humidity in the air has been too high and next time, you’ll need to change placement or lessen the water spraying.
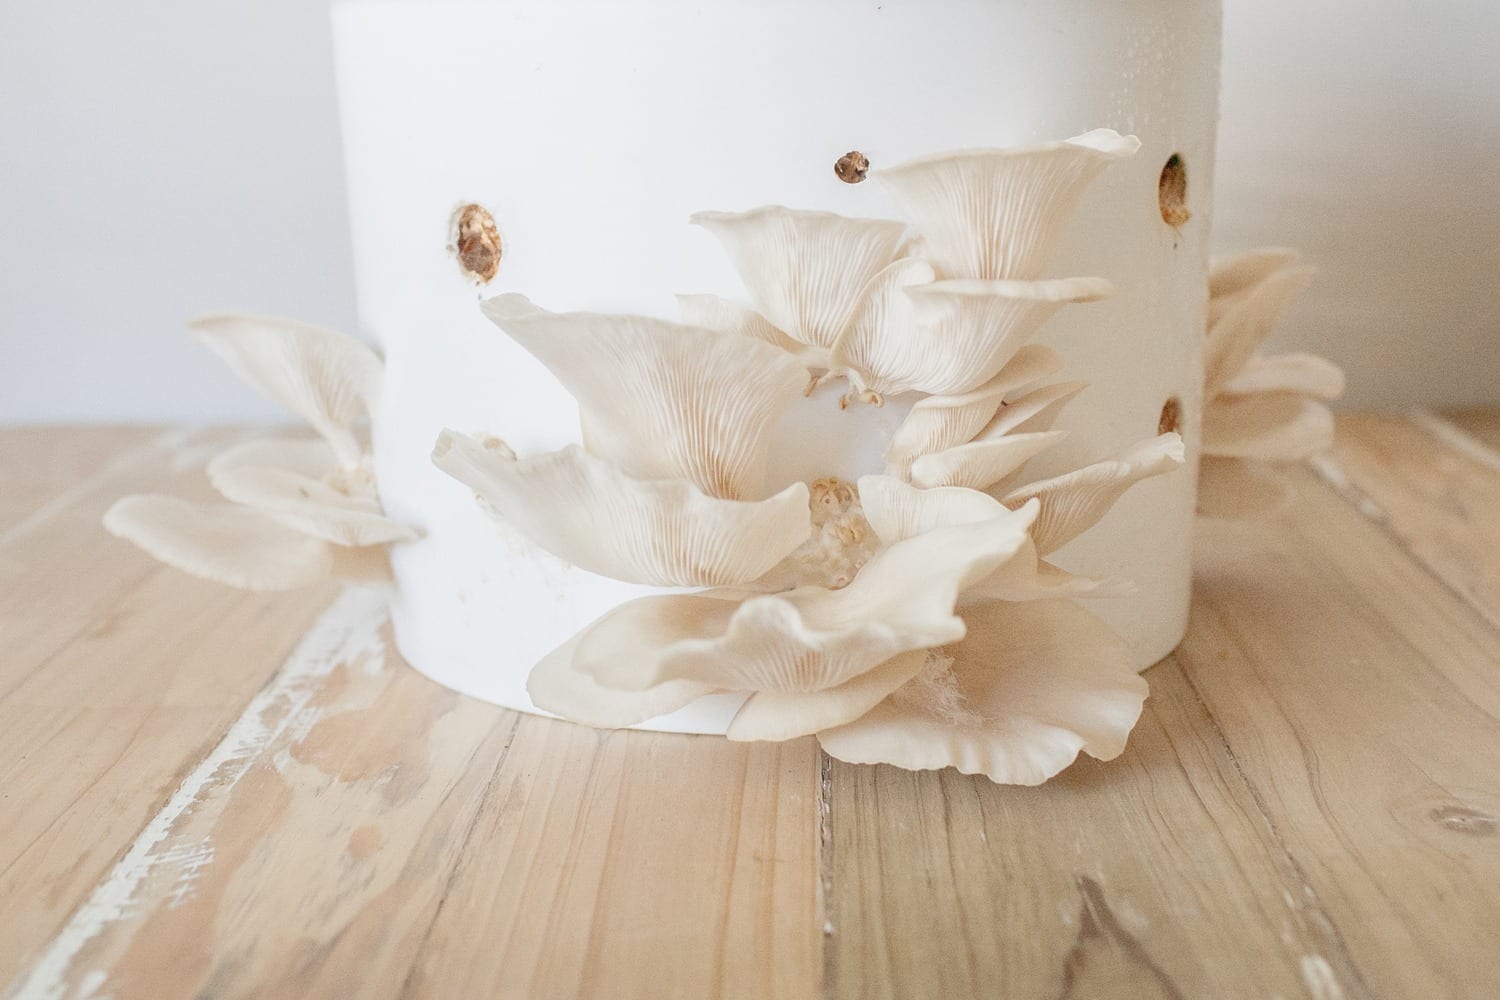
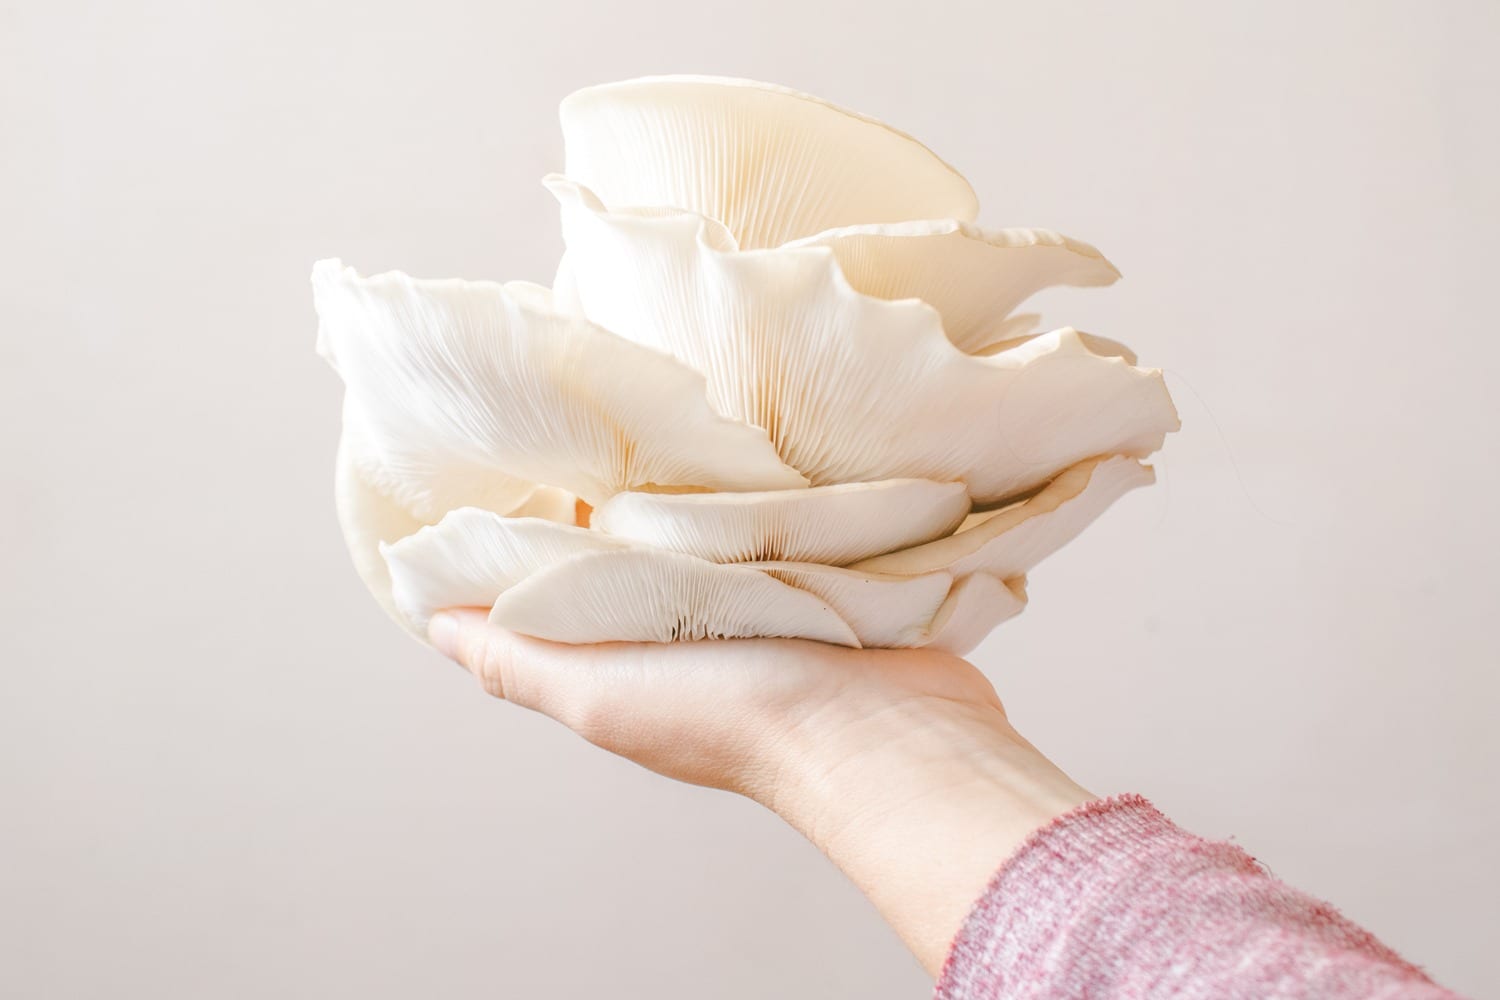
HARVEST
Once the pin heads appear the mushrooms will grow to full size in around 3 days. It’s incredible to watch just how quickly they grow at this point. You know they’re ready for harvest when the outside lip starts to curl back over. If that visual is confusing (it was for me at the start) the mushroom’s edges will eventually start to go brown and although still find to eat, it’s like watching a banana ripen – you want to eat it at the perfect time! When the mushrooms are ready, cut them off at the base with a knife or scissors and store them in a container in the fridge. Also, once, a mushroom in a cluster starts to curl back over (even if they others haven’t) you need to harvest the lot.
The mushrooms last at least a week in the fridge (maybe more) I just eat them too quickly to know.
Your bucket should fruit another time and maybe a third before you need to start the process over again! It will take around two weeks before you’ll start seeing the tiny pin heads on round two. I’ve found continuing to keep the buckets moist with the water spray bottle was successful in growing a subsequent harvest. Just pay attention to the weather and adjust accordingly.
CONTAMINATION
If you see some green mould on the straw, don’t freak out just remove it. You ultimately want the mushroom mycelium (the white, cobweb-esque stuff) to overtake the straw, not mould. You can the lift the lid on the bucket and have a peek throughout the grow cycle just don’t let too much air in, as this can cause more contamination. Don’t overly worry though, the lime should kill off any bacteria and the mushroom spawn is pretty adept at taking over.
HEALTH BENEFITS
Here’s the breakdowns of consuming a daily amount (148grams) of oyster mushrooms (source).
37% niacin (b3)
30% riboflavin
19% pantothenic acid
18% phosphorus
18% copper
14% dietary fibre
12% thiamin (B1)
11% iron
10% daily value (DV) of protein
10% folate
8% vitamin b6
8% zinc
8% magnese
7% magnesium
Google any of those nutrients and why your body needs them and you’ll want to eat enormous amounts of oyster mushrooms, although, everything in moderation!
TIP: You do need to cook your oyster mushrooms before ingesting, due to the protein, ostreolysin which presents in raw oyster mushrooms and can be toxic. (source).
Cooking
I prepare my oyster mushroom by boiling them in a saucepan with water and a stock cube (I used the vegan brand massel’s ‘beef’) for 10-15 minutes. Once they have absorbed some of the stock, I heat up my cast iron, swirl in some bran oil and throw the mushrooms in (minus the liquid). In the cast iron, they’ll start to crisp up in a few minutes. Once golden on one side, flip them over and with the pan still hot, throw in a few chopped bulbs of garlic and give a swirl. Perfection!
Happy growing and (cooked!) mushroom ingesting!!!!
–
Want to see what else I do? Come peek over on my insta or grab a freebie when you sign up to my newsletter below 🙂 🙂